
how to use a bike pump to inflate tires comes down to two things most people skip: matching the pump head to your valve, and inflating to a pressure your tire can actually handle.
If you have ever pumped for a minute, removed the head, and heard that discouraging hiss, you already know why this matters, small mistakes waste air, time, and sometimes lead to underinflated tires that feel slow and can pinch-flat.
Another common misconception is that “hard is always better.” In reality, the right tire pressure depends on the tire, rider, and surface, so this guide focuses on practical steps and quick checks that work for most road, gravel, and mountain bikes in the U.S.
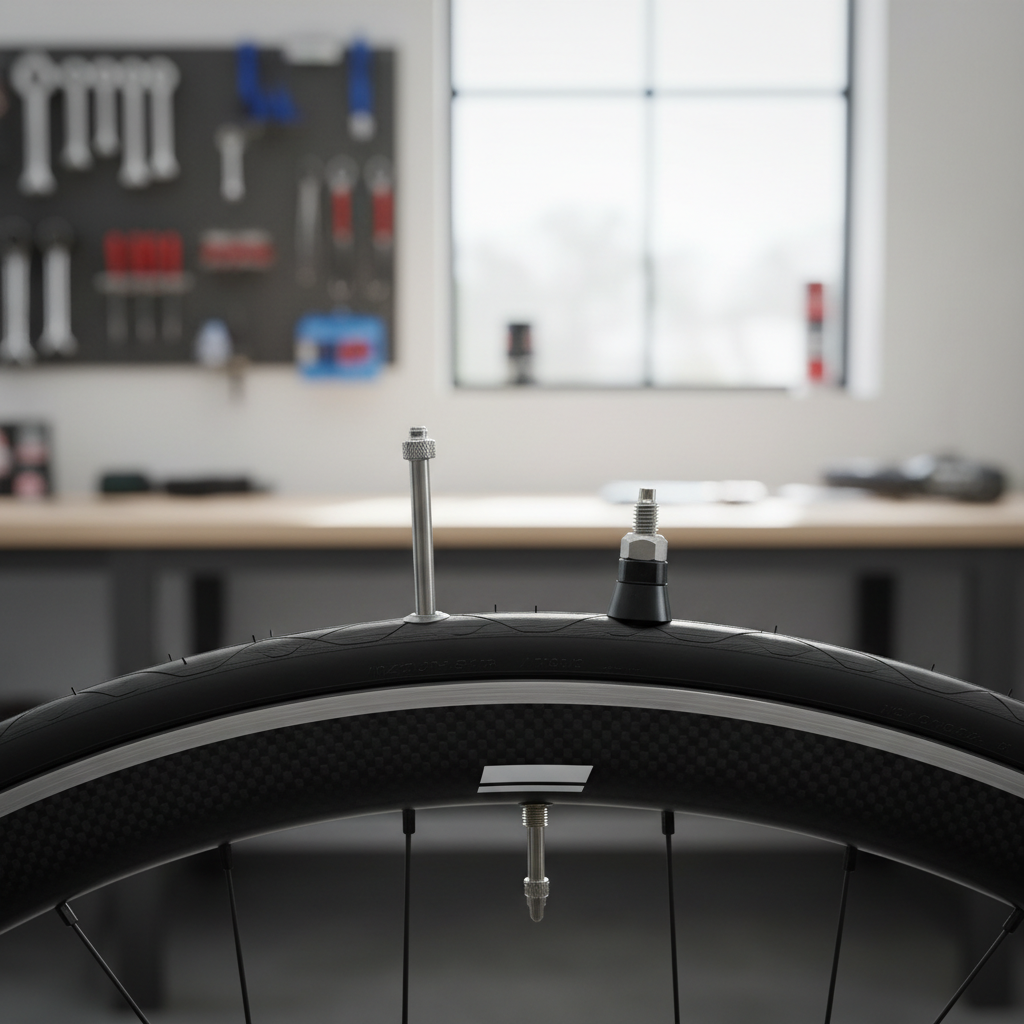
Know your valve before you pump
Most home pumping problems come from a valve mismatch. In the U.S., you will mainly see Schrader (car-style, wider) and Presta (narrower, with a small lock nut at the tip). Some tubes use Dunlop, but it is less common.
- Schrader: wider valve body, no small nut to unscrew, common on kids bikes and many hybrids.
- Presta: slimmer body, a small nut at the top that must be loosened before air flows, common on road and many mountain bikes.
If your pump has a “smart head” it may auto-fit both, but many pumps use a reversible insert or separate ports. If you have to force it, you are probably using the wrong side.
Check the tire’s recommended pressure (and what it really means)
Look at the tire sidewall and find the pressure range, usually in PSI. That range is a safety and performance envelope, not a single magic number.
According to NHTSA (National Highway Traffic Safety Administration), keeping tires properly inflated is an important safety practice for vehicles. Bikes are different from cars, but the same general idea applies: correct pressure helps handling and reduces avoidable damage.
Use this as a starting point, then adjust for comfort and grip.
| Bike / Tire type | Typical starting PSI range | What you feel if too low / too high |
|---|---|---|
| Road (25–32mm) | 60–90 PSI | Too low: squirmy turns, pinch-flat risk / Too high: harsh ride, less grip |
| Gravel (35–50mm) | 30–55 PSI | Too low: burps (tubeless), rim strikes / Too high: bouncy, traction loss |
| Mountain (2.2–2.6 in) | 18–35 PSI | Too low: rim hits, tire roll / Too high: deflects off rocks, less control |
| Kids / hybrid (wider commuter) | 35–65 PSI | Too low: heavy steering, frequent flats / Too high: skittish, uncomfortable |
Key point: the sidewall max is not a goal for most riders. If you are unsure, start mid-range, ride, then fine-tune by 3–5 PSI.
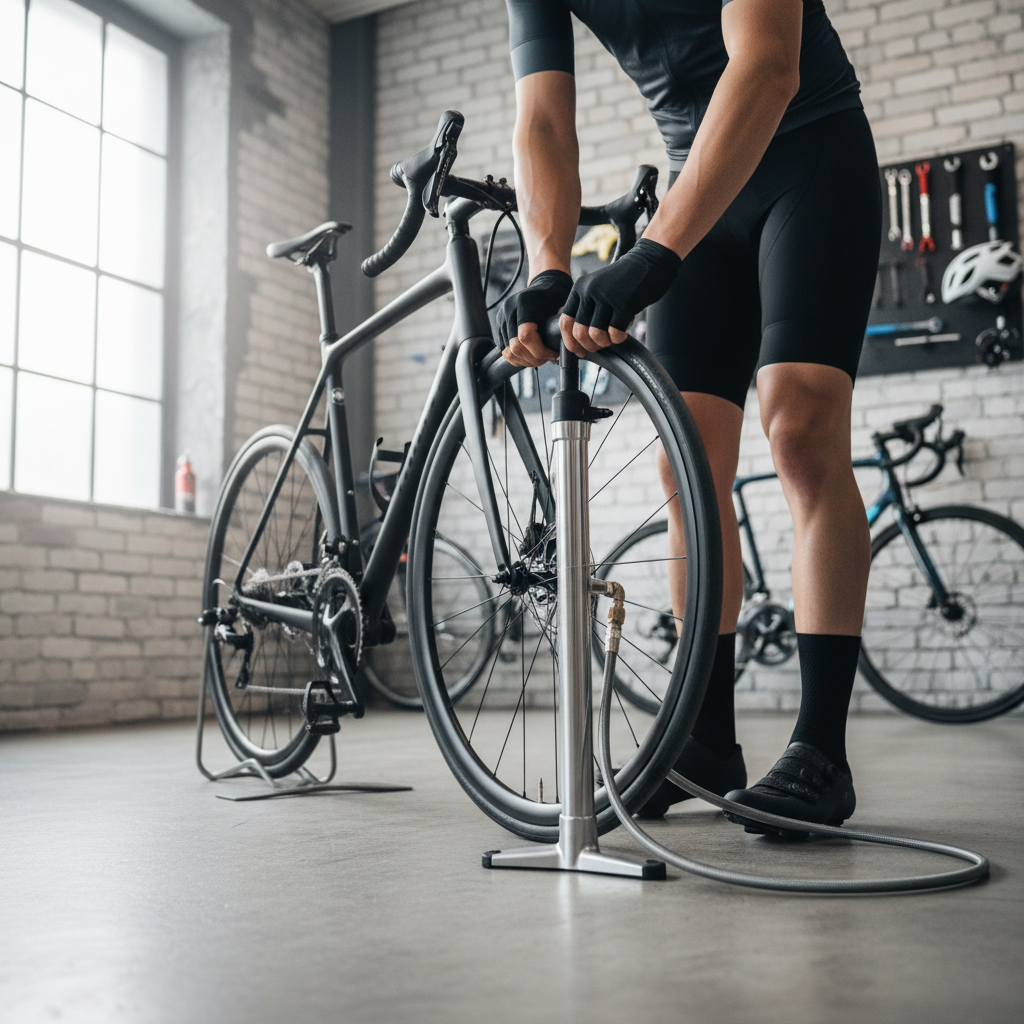
How to use a bike pump to inflate tires: step-by-step
The process is simple, but the details matter. This sequence prevents most leaks at the pump head and avoids accidental air loss when removing it.
1) Prep the valve
- Remove the valve cap, place it in a pocket so it does not roll away.
- Presta: unscrew the small top nut until it stops, then tap it briefly to confirm a tiny puff of air can escape.
- Schrader: no prep beyond removing the cap.
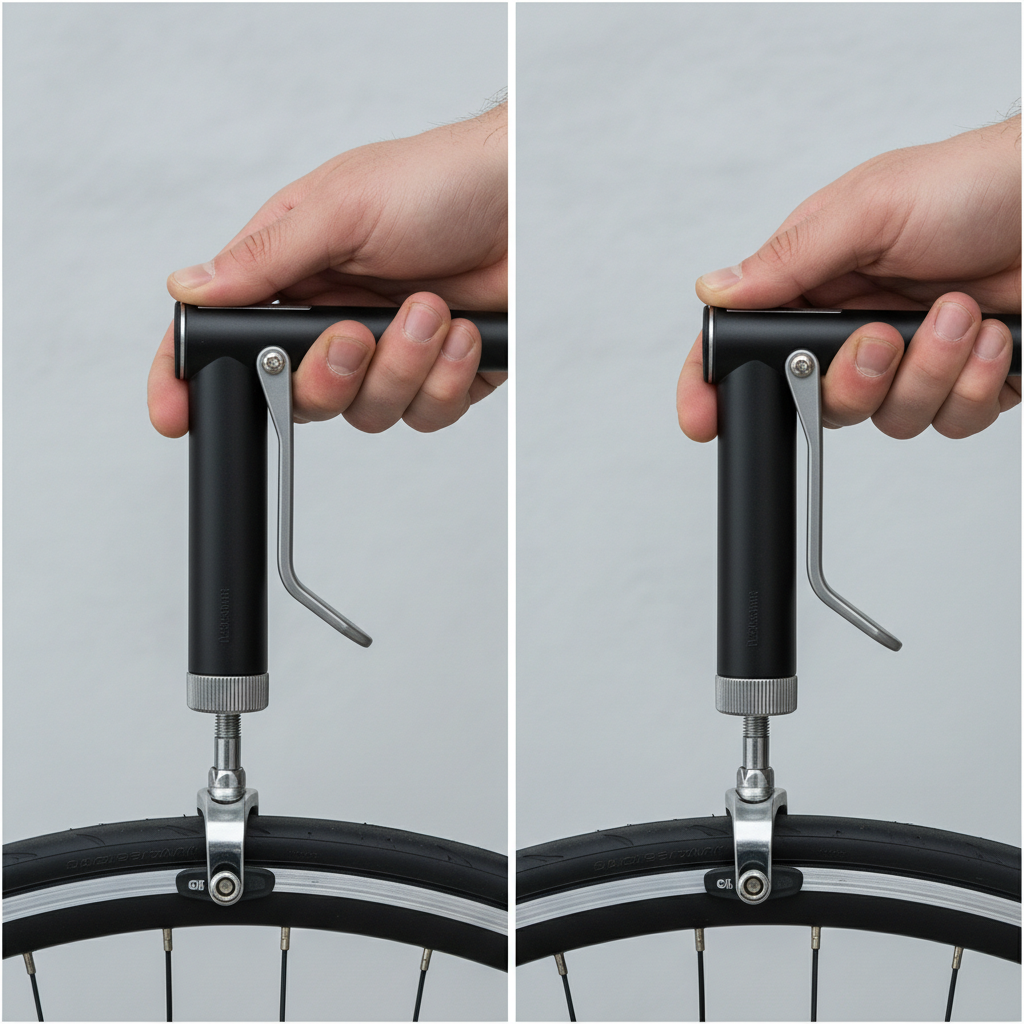
2) Set the pump head correctly
- Identify which side/port is for your valve type.
- Push the head on straight, not at an angle.
- Flip the lever to lock. If it takes extreme force, stop and re-seat the head.
3) Inflate with steady strokes, then check the gauge
With a floor pump, use smooth full strokes, you get more accurate gauge behavior and less heat in the tube. With a mini pump, expect slower progress and more wobble in the reading.
- Pump to your target PSI, then pause for 2–3 seconds.
- Re-check the gauge, some pumps “settle” slightly.
4) Remove the pump head without losing much air
- Flip the lever back to unlock.
- Pull the head straight off in one quick motion.
- For Presta, tighten the small top nut, then reinstall the cap.
A quick hiss when removing the head is usually air from the pump hose, not the tire. If your tire pressure drops noticeably, the head was not sealing well.
Quick self-check: why your tire won’t inflate (or keeps leaking)
If how to use a bike pump to inflate tires feels “impossible,” it is often one of these fixable issues. Run this checklist before buying new gear.
- Pump head mismatch: wrong side/setting for Presta vs Schrader.
- Presta nut still closed: air cannot enter, gauge may spike strangely.
- Loose valve core: slow leak at the valve, especially on Presta and tubeless valves.
- Damaged tube: puncture or pinch flat, pressure will not hold.
- Bead not seated: on tubeless or fresh installs, air escapes around the rim.
- Gauge confusion: some small pumps show unreliable readings, especially at low PSI.
If you suspect a leak, a little soapy water on the valve and tire sidewall can reveal bubbles, just keep it away from disc brake rotors.
Practical tips to get the “right” pressure for your riding
Pressure is not just comfort, it changes grip, rolling feel, and flat protection. The goal is a tire that supports you without bouncing off the road or folding in turns.
- Heavier riders often need more PSI, but jumping straight to the sidewall max usually feels worse on real pavement.
- Rough surfaces need less PSI so the tire can conform, within safe limits for rim protection.
- Front vs rear: the rear tire commonly runs a bit higher because it carries more load.
If you are new to dialing this in, keep notes on what PSI felt good, it is the fastest way to stop guessing.
Common mistakes (and what to do instead)
Most bad outcomes trace back to a few habits that feel harmless in the moment.
- Pumping “until it feels hard”: use the gauge and the sidewall range, your fingers are inconsistent.
- Yanking the head off slowly: remove it quickly and straight to reduce leakage.
- Ignoring valve caps: caps do not hold pressure, but they keep grit out of the valve, which can cause slow leaks.
- Using CO2 for every top-off: it is convenient, but frequent CO2 use can be costly and may require more frequent pressure checks.
- Forgetting to re-tighten Presta: leave it open and you invite accidental deflation.
Small but useful habit: after inflating, press the valve cap on with your fingers, if you hear air escaping, the valve core may be loose or contaminated.
When you may need a shop or a different tool
Some scenarios look like “pump problems” but are really install or hardware issues. Getting help can save time, especially if you ride often.
- Tubeless won’t seat: you may need an air compressor or a tubeless inflator, plus proper rim tape and sealant.
- Stripped Presta threads or bent valve: the pump head will never seal reliably, a new tube is usually the clean fix.
- Recurring flats: a shop can inspect the tire for embedded debris, rim tape issues, or casing damage.
- Rim strikes or burping: you may need guidance on safer PSI, tire inserts, or a different tire width.
If you feel unsure about wheel, tire, or brake safety after a tire issue, it is reasonable to consult a bike mechanic, especially before fast group rides or commuting in traffic.
Conclusion: a simple routine that keeps tires reliable
Once you learn how to use a bike pump to inflate tires with the right valve setup and a realistic PSI target, the whole task becomes a 2-minute habit instead of a weekly frustration.
Pick one action for today: check your tire sidewall PSI range, then inflate to a mid-range value and write it down, next ride, adjust slightly and keep the note, that small loop is how most riders end up with “their” pressure.