
How to apply bike decals without bubbles comes down to two things people usually skip: surface prep and controlled pressure while you lay the vinyl down.
If you have ever stepped back and noticed tiny blisters, cloudy spots, or edges that start lifting a day later, you are not alone. Decals look simple, but bikes combine curves, tight clearances, and lots of grime, which makes application less forgiving than a flat window sticker.
This guide walks through what actually causes bubbles, a quick self-check to choose the right method, and practical fixes for the common “I already stuck it down” moments. You will also see when a wet application helps, and when it makes things worse.
Why bubbles happen (and why bikes make it easier)
Bubbles are just trapped air or fluid with nowhere to escape, but the reason it gets trapped matters because the fix changes.
- Micro-contamination: polish, chain lube mist, road film, and even fingerprints create tiny high spots, the adhesive bridges over them, and air pockets form around the edges.
- Too much tack too soon: on warm frames or under strong shop lights, vinyl grabs quickly, so you cannot “float” the decal into place and push air out gradually.
- Wrong pressure tool: bare fingers or paper towels leave uneven pressure lines, which can trap channels of air.
- Compound curves and recesses: on head tubes, seat stays, or around cable ports, the vinyl stretches in one area and bunches in another, creating wrinkles that turn into bubbles.
- Cold vinyl or cold frame: adhesive stiffens, so it does not wet out to the surface smoothly.
According to 3M, proper surface cleaning and firm, even pressure are core factors for pressure-sensitive adhesive performance, which is the same adhesive family used on many vinyl decals.
Quick self-check: choose the right approach in 60 seconds
Before you peel anything, decide whether you should go “dry,” “hinge,” or “light wet.” This avoids the classic mistake of using one method for every decal.
- Small logo on a flat-ish tube (down tube, top tube): dry method works well in most cases.
- Long decal that must sit perfectly straight: hinge method (tape hinge) reduces crooked placement.
- Large decal on glossy paint with very aggressive tack: a light wet method can help you reposition, but only if the vinyl and adhesive type allow it.
- Deep curves, textured paint, raw carbon with texture: expect more difficulty; consider smaller segmented decals or professional help.
If the decal manufacturer says “dry apply only,” take that literally. Some adhesives are engineered to vent air (air-release), and liquid can interfere with how they seat.
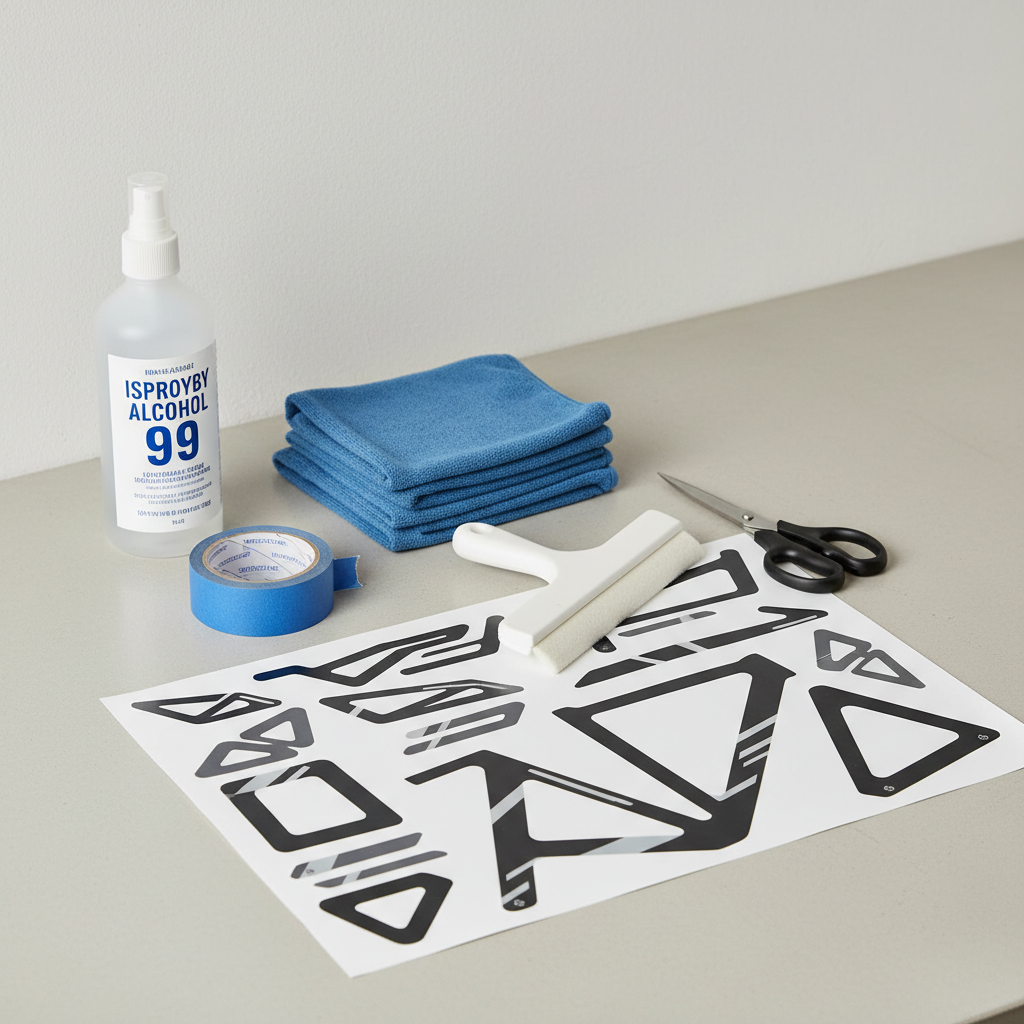
Tools and materials that actually help (and what to skip)
You do not need a full wrap shop kit, but the right few items make how to apply bike decals without bubbles much more predictable.
| Item | Why it matters | Notes |
|---|---|---|
| Isopropyl alcohol (70–90%) | Removes oils so adhesive can bond evenly | Use on a clean microfiber, then let it flash off |
| Microfiber cloths (lint-free) | Avoids lint under vinyl | Keep one “wet” and one “dry” cloth |
| Felt-edged squeegee or wrap card | Even pressure without scratching | Credit cards can work, but felt is safer |
| Painter’s tape | Hinge method and alignment | Blue tape is usually gentle on paint |
| Hair dryer or low heat gun | Helps vinyl conform and set edges | Low heat, keep moving, do not cook the clear coat |
| Pin or fine needle | Releases stubborn micro-bubbles | Use sparingly, on tiny bubbles only |
What to skip most of the time: household glass cleaner with ammonia, oily “detailer” sprays, and rough paper towels. They often leave residue or fibers, which is basically bubble fuel.
Step-by-step: dry method (best for most bike decals)
This is the most reliable path for smaller decals and most frame tubes.
1) Clean like you mean it
- Wash off visible grime, then dry fully.
- Wipe the target area with isopropyl alcohol using a clean microfiber.
- Wait a minute so the alcohol fully evaporates, the surface should feel squeaky, not slick.
2) Do a test fit and mark alignment
- Hold the decal in place with painter’s tape.
- Step back and check straightness relative to tube lines, bottle bosses, or existing graphics.
- If you want repeatable symmetry, measure from a fixed feature on both sides.
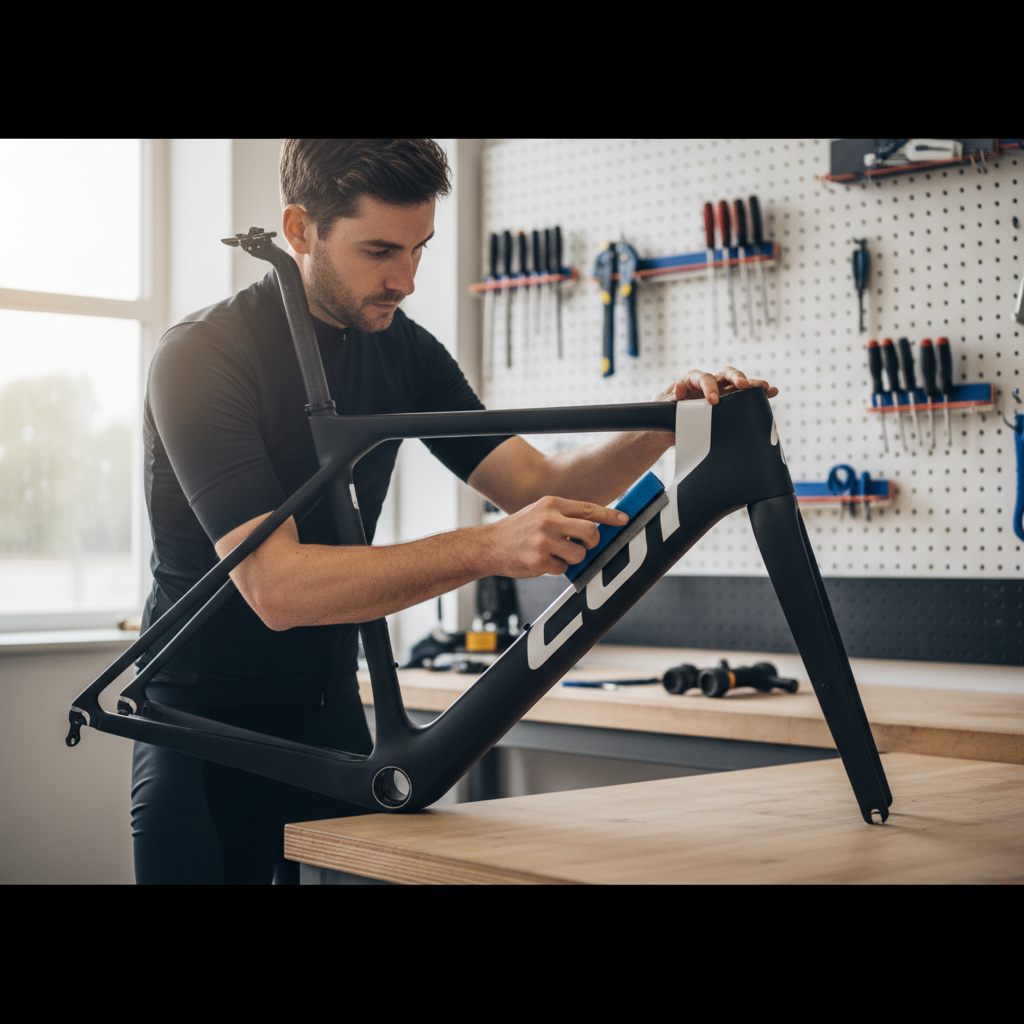
3) Peel and lay down slowly with controlled pressure
- Peel a small section of backing, just enough to start an edge.
- Anchor that edge, then use the squeegee to press from the center outward.
- Keep the decal slightly tensioned so it does not flop and trap air.
4) Finish, then set the edges
- Once it is down, go over it again with firm, even strokes.
- Warm the decal lightly with a hair dryer, then press edges and corners again.
That last pass is boring, but it is where a lot of “looks good today, lifts tomorrow” installs are won or lost.
Step-by-step: hinge method for long decals (straight placement, fewer regrets)
If your decal is long or you need a clean centerline, the hinge method helps you avoid repositioning after the adhesive touches paint.
- Tape the decal in the exact final position.
- Add one long strip of tape along the top edge to create a “hinge.”
- Flip the decal up on the hinge, peel the backing down and away.
- Flip it back down, then squeegee from the hinge side outward in short strokes.
You are basically forcing the air to exit in one direction, which is a simple trick that makes how to apply bike decals without bubbles much easier on the first try.
Wet application: when it helps, and how to do it safely
Wet application can be useful for large decals that need careful positioning, but it is not universal. Some modern air-release adhesives do better dry, and some “permanent” adhesives hate moisture during initial tack.
If the decal vendor confirms wet application is okay, keep it conservative:
- Use a spray bottle with clean water and a tiny drop of mild dish soap, you want slip, not foam.
- Mist the surface lightly, do not soak it.
- Place the decal, slide into position, then squeegee firmly from center outward until no liquid lines remain.
- Give it extra cure time before riding or washing, moisture under vinyl needs time to escape.

If you see milky haze under the decal after wet install, it often clears as moisture evaporates, but give it time before you start peeling or redoing it.
Fixing bubbles and wrinkles after the decal is down
You can usually rescue minor defects without ripping everything off.
Small bubbles (pinhead to pea size)
- Wait 12–24 hours if you can, many micro-bubbles relax as the adhesive wets out.
- If it stays, poke the bubble with a fine needle at the edge, then press air out with your thumb or squeegee.
Long “air tunnels” or creases
- Warm the vinyl slightly, then lift only the affected edge if possible.
- Re-squeegee slowly, pushing the air toward the open edge.
- If the vinyl has stretched and looks distorted, replacing that piece may look cleaner than fighting it.
Edges lifting
- Re-clean around the lifted area if you can without flooding under the vinyl.
- Warm, press, and hold pressure for a few seconds to reset tack.
- On high-abuse zones (heel rub, chainstay), consider a protective clear film over the decal once it cures.
Common mistakes that create bubbles (even when you “follow the steps”)
- Applying right after a ride: the frame is warm, oils migrate, and adhesive grabs fast.
- Overusing heat: too much heat can stretch vinyl, then it shrinks later and pulls edges up.
- Cleaning with the wrong product: waxy cleaners feel clean but leave a thin layer that fights adhesion.
- Rushing the transfer tape removal: pulling straight up can lift the decal, pull low and slow.
- Ignoring cure time: washing or riding immediately can introduce water and grit at the edges.
Key takeaways (save this before you start)
- Clean surface beats “better technique” more often than people want to admit.
- Use a felt squeegee and push from center outward, do not mash randomly.
- Hinge method reduces crooked installs on long graphics.
- Heat is for finishing and conforming, not for forcing a bad laydown.
- Many micro-bubbles fade after a day, do not panic and peel immediately.
Conclusion: a clean install is mostly patience, not luck
If your goal is a factory-clean look, focus on prep, alignment, and slow pressure, that is the real answer to how to apply bike decals without bubbles. Start with a small decal to build confidence, then move to larger pieces once your hands know the rhythm.
If you are about to apply a large kit or decals on complex curves, take five minutes to test placement with tape and check the manufacturer’s guidance, it saves an hour of rework later.