
Balance Training at home can feel surprisingly hard at first, especially if you wobble, grab the wall, or avoid certain moves because you don’t trust your footing.
The upside is that balance is trainable for most people, and you don’t need fancy equipment to make progress. A few smart exercises, done consistently, usually help your ankles, hips, and core coordinate better, which often shows up as steadier walking, better workouts, and fewer “close calls” when you misstep.
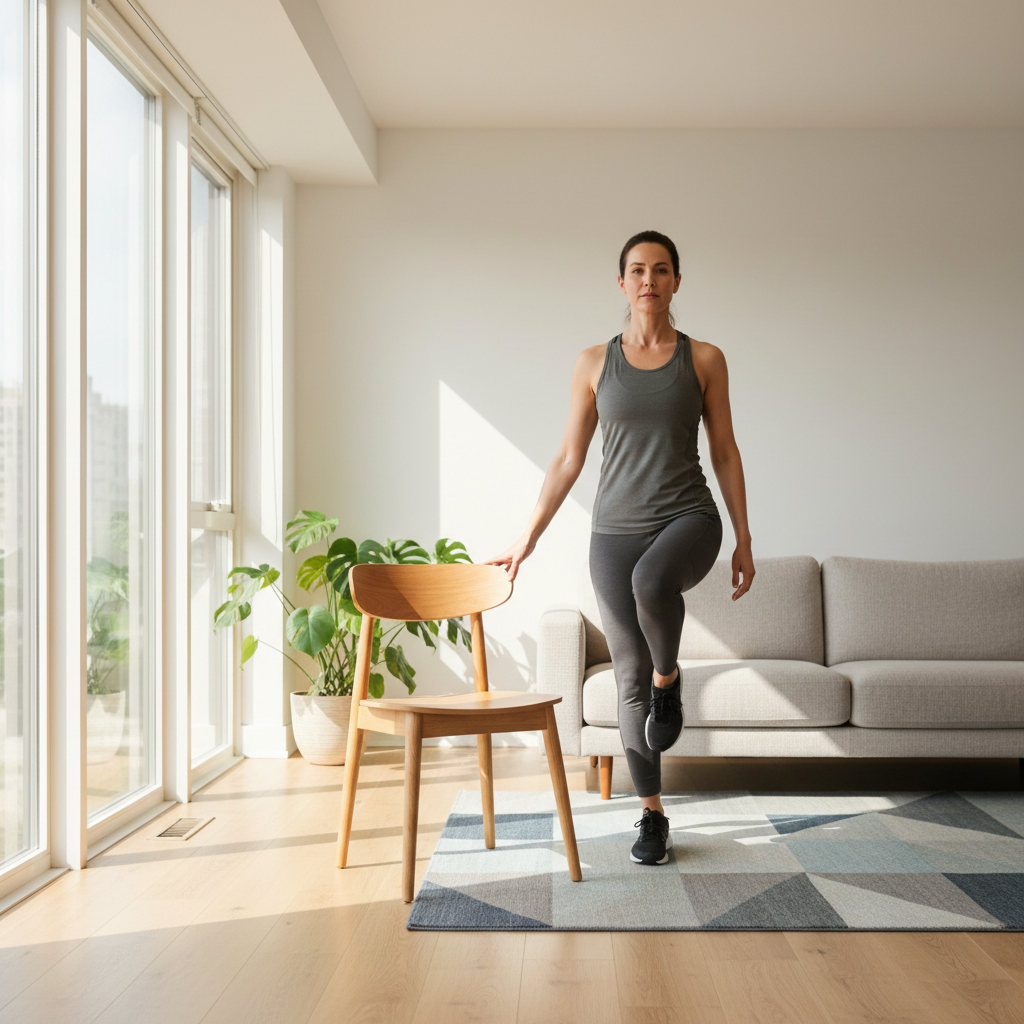
I’ll keep this practical: what balance really is, why you might struggle, a quick self-check, and a set of simple exercises you can rotate through without turning your living room into a gym.
What “balance” actually means (and why it changes over time)
When people say “I have bad balance,” they usually mean their body can’t correct itself quickly enough when it sways. Balance isn’t one skill, it’s a teamwork problem between your feet and ankles, hips, core, vision, and inner-ear system.
According to the National Institute on Aging (NIA), balance exercises can help reduce fall risk as you get older, and the bigger idea is simple: practice staying steady in controlled situations so your body reacts better in real life.
In everyday training terms, balance work often shows up in three buckets:
- Static balance: holding still (like a single-leg stand).
- Dynamic balance: staying stable while moving (like heel-to-toe walking).
- Reactive balance: catching yourself after a surprise shift (harder to train alone, but you can prepare for it).
If your goal is “stop wobbling,” you’ll usually want a mix of all three, with safety guardrails.
Common reasons Balance Training feels harder than it “should”
A lot of people assume balance problems mean weak legs. Sometimes yes, but many home exercisers hit other bottlenecks first.
- Limited ankle mobility: stiff ankles reduce your ability to make small corrections, so you compensate by tipping at the hips.
- Hip weakness or poor hip control: if the glute medius doesn’t stabilize, the knee caves inward and you feel shaky.
- Core bracing mismatch: either “too loose” or overly tense, both can make sway worse.
- Vision dependence: you feel fine with eyes open, then instantly panic with eyes closed.
- Footwear and surfaces: squishy shoes, thick carpet, and uneven floors change feedback from the ground.
Also worth saying out loud: sleep, stress, and certain medications can affect steadiness. If your balance suddenly changes, treat that as a signal to check in with a clinician.
Quick self-check: what kind of balance work do you need?
This takes two minutes. Do it near a counter so you can catch yourself lightly.
- Single-leg stand (10–30 seconds per side): if one side is dramatically worse, prioritize that side with extra volume.
- Heel-to-toe walk (10 steps): if you step off the “line” often, you likely need more dynamic control.
- Head turns while standing: turn your head left/right slowly; if this makes you sway a lot, vision and vestibular input may be a bigger factor.
- Chair sit-to-stand (5 reps): if you rock forward hard or your knees cave, hip strength and coordination probably need attention.
Rule of thumb: choose exercises that feel challenging but not scary, and you should be able to breathe normally, talk normally, and recover quickly after each set.
Simple Balance Training exercises you can do at home
Pick 4–6 exercises total per session. Start with the easier version, then progress by reducing hand support, narrowing stance, slowing tempo, or adding gentle movement.
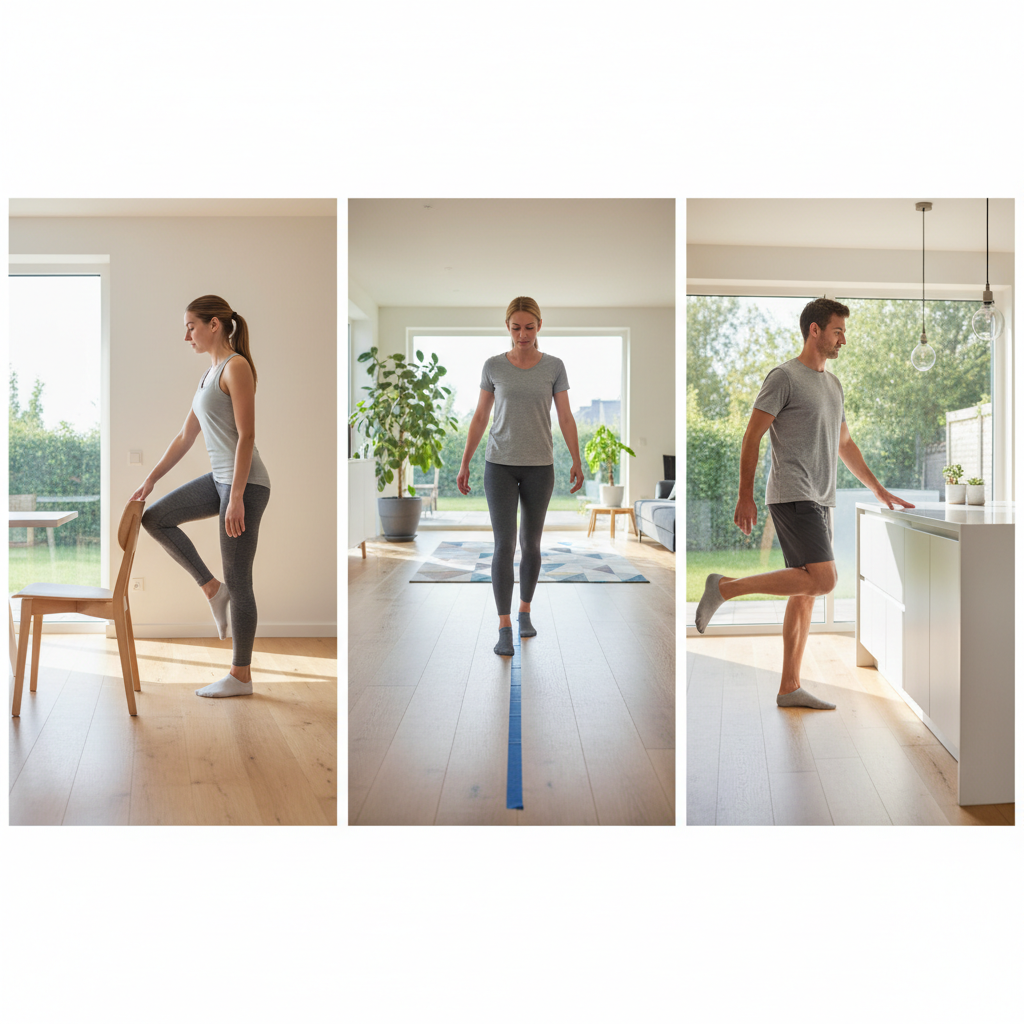
1) Supported single-leg stand
Stand near a countertop. Lightly touch with one or two fingers, then lift one foot.
- Do: 2–3 sets of 15–30 seconds per side.
- Focus: tall posture, soft knee, steady breathing.
- Progress: one-finger support, then hover your hand, then turn your head slowly.
2) Heel-to-toe (tandem) walk
Walk as if on a tightrope, heel touching the next toe. Use a wall for safety if needed.
- Do: 2–4 passes of 8–12 steps.
- Progress: slower steps, then backward tandem walk (only if you can do it safely).
3) Weight shifts (front/back and side/side)
Feet hip-width apart, gently move your weight to the front of your feet, then back to your heels, then left and right. This trains the “micro-corrections” you use all day.
- Do: 1–2 minutes total.
- Progress: narrow your stance, or do it on a folded towel for a softer surface.
4) Chair sit-to-stand (with control)
Sit tall, feet under knees, stand up without collapsing knees inward, then sit back slowly.
- Do: 2–3 sets of 6–10 reps.
- Progress: slower lowering phase, or a slightly lower chair.
5) Side leg raise (hip stability)
Hold the counter, lift one leg slightly out to the side, keep toes facing forward, pelvis level.
- Do: 2 sets of 8–12 reps per side.
- Progress: add a mini band above the knees if you already use bands comfortably.
6) Marching in place (slow)
March slowly, pause at the top for a beat, then switch sides. This is sneaky-good for dynamic control.
- Do: 2 sets of 30–60 seconds.
- Progress: reduce hand support, then add gentle head turns.
A simple weekly plan (pick your level and repeat)
You’ll get more out of Balance Training by practicing often, but keeping sessions short. Most people do better with 10–20 minutes, 3–5 days per week, than one heroic session.
| Level | Frequency | Session length | Example focus |
|---|---|---|---|
| Beginner (needs support) | 3 days/week | 10–12 min | Supported single-leg stand, weight shifts, sit-to-stand |
| Intermediate (minimal support) | 4 days/week | 12–18 min | Tandem walk, marching pauses, side leg raises |
| Advanced (steady, wants challenge) | 4–5 days/week | 15–20 min | Backward tandem, head turns, softer surfaces |
Key point: if you’re also strength training, place balance work in your warm-up or between sets, when fatigue is lower and your form stays clean.
Technique cues that make these exercises work better
Small adjustments change everything, and they’re usually what separates “I did the reps” from “I improved.”
- Use a light touch: hovering a fingertip on a counter still gives your brain feedback, without removing the challenge.
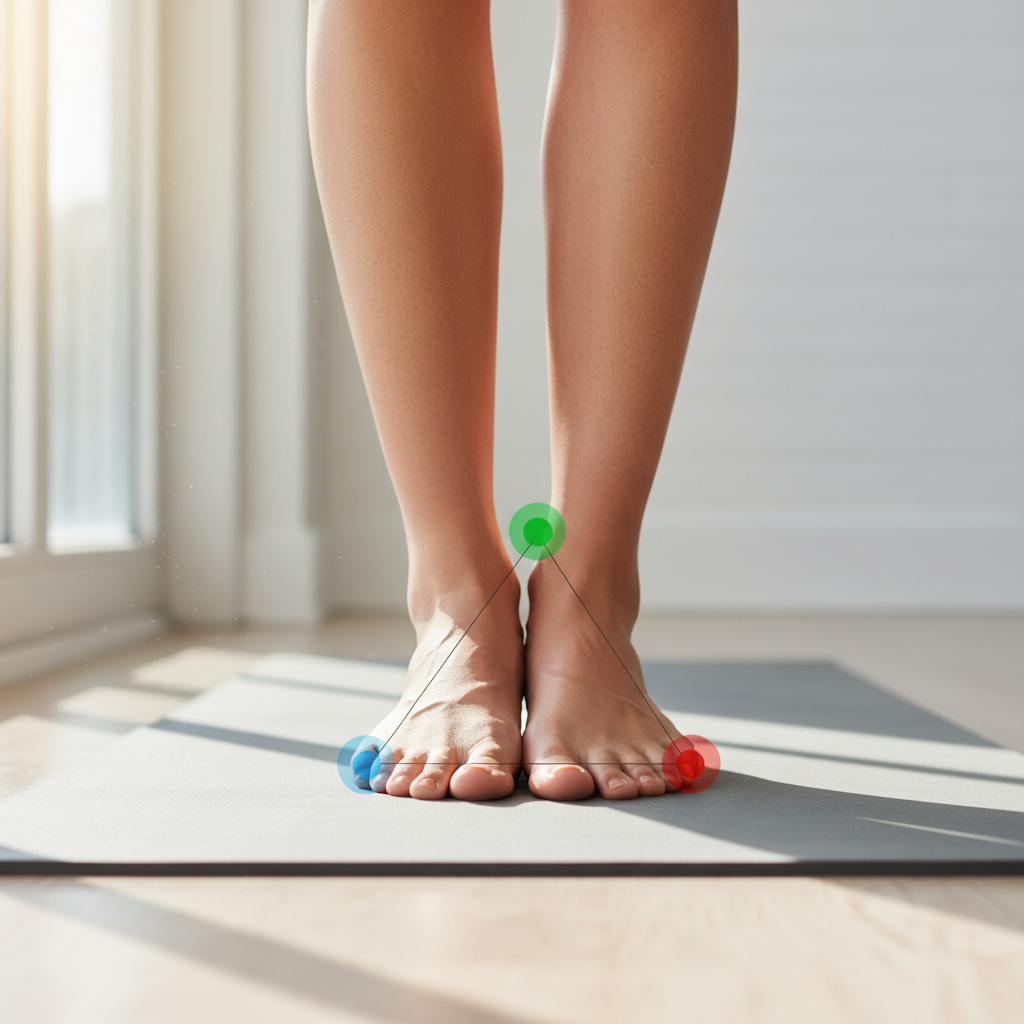
- Own the tripod foot: feel big toe, little toe, and heel on the ground, avoid gripping with toes.
- Soft knee, tall ribs: locked knees often make sway worse, a tall posture helps your system stack better.
- Slow down: controlled speed trains coordination; rushing usually trains panic.
If you notice your shoulders creeping up or your jaw clenching, that’s usually a sign the drill is too hard right now. Make it easier, then build again.
Safety notes, common mistakes, and when to get help
Balance practice should feel challenging, not risky. Set yourself up so you can fail safely.
- Choose the right spot: clear the floor, use a sturdy counter, avoid unstable chairs with wheels.
- Don’t “test” yourself when exhausted: fatigue changes mechanics and can increase fall risk.
- Avoid big jumps in difficulty: eyes closed and unstable surfaces can be useful, but they’re not step one.
- Don’t ignore pain: sharp pain in the ankle, knee, hip, or back means you should stop and reassess.
According to the CDC, falls are a serious health issue for older adults, so if you have a history of falls, osteoporosis, or feel unsafe during practice, it’s reasonable to ask a physical therapist for a tailored plan.
Seek professional help soon (primary care, PT, or urgent care depending on severity) if you notice sudden dizziness, new numbness or weakness, frequent falls, or a rapid change in coordination. Those can be more than “just balance.”
Conclusion: keep it simple, repeat often, progress carefully
Most at-home progress comes from boring consistency: a few minutes of Balance Training, repeated across the week, with just enough challenge to make your system adapt.
If you want an easy next step, pick three exercises today: supported single-leg stand, tandem walk, and controlled sit-to-stand, then repeat them three times this week and track whether you need less hand support by week two.
FAQ
How long does it take to see results from Balance Training?
Many people notice small changes in steadiness within a few weeks if they practice 3–5 days per week. Bigger improvements can take longer, especially if strength, mobility, or confidence is a limiting factor.
Is it okay to do balance exercises every day?
Often yes, because the sessions can stay short and low-impact. If you feel sore, unusually fatigued, or more wobbly than normal, take an easier day and keep the challenge modest.
Should I practice balance barefoot or in shoes?
It depends. Barefoot can improve foot awareness on safe, clean surfaces, while supportive shoes may feel better if you have foot pain. If you have diabetes-related neuropathy or reduced sensation, ask a clinician before going barefoot.
What’s the safest balance exercise for beginners?
A supported single-leg stand with a countertop nearby is usually the most adjustable, because you can use as much hand support as needed and gradually reduce it.
Do I need a balance board or BOSU ball?
Not necessarily. Many people build strong balance using the floor, a folded towel, and careful progressions. Unstable tools can help later, but they can also increase risk if introduced too early.
Why is one side so much worse?
Side-to-side differences are common, sometimes due to old injuries, hip stability, or ankle mobility. Train both sides, give the weaker side a bit more volume, and consider a physical therapist if the gap feels extreme or comes with pain.
Can balance work help my workouts (like lifting or running)?
Usually yes, because better balance can improve control and joint alignment. Just keep it in the warm-up or on separate days if it makes your main training feel sloppy.
If you’re already doing home workouts and want a more plug-and-play routine, consider building a short balance circuit you can run before strength days, it’s one of those habits that stays small but adds up.