
how to teach a kid to ride a bike is less about “going fast” and more about getting confident quickly, because confidence is what makes kids pedal, steer, and brake without freezing up.
If you’ve tried before, you probably hit the same wall most parents hit, the kid wobbles, you’re bent over running behind them, everyone gets tense, and progress feels random. The good news is, speed comes from simplifying the skill, not pushing harder.
This guide focuses on what usually speeds learning up in real life, a simple setup, a balance-first approach, short practice blocks, and a few coaching phrases that keep kids calm. You’ll also get a quick checklist, a table to pick the right method, and clear “if this happens, do that” fixes.
Start with the goal: “fast” means fewer frustration loops
When people search how to teach a kid to ride a bike, they often picture a single breakthrough day. In practice, “fast” usually means avoiding the common loops that waste time, like starting on the wrong surface, using a bike that doesn’t fit, or correcting everything at once.
Two principles make learning noticeably quicker for most kids:
- Balance first, pedaling second. If balance feels safe, pedaling becomes a simple add-on.
- Short reps, clear wins. Five minutes of good reps beats thirty minutes of arguing.
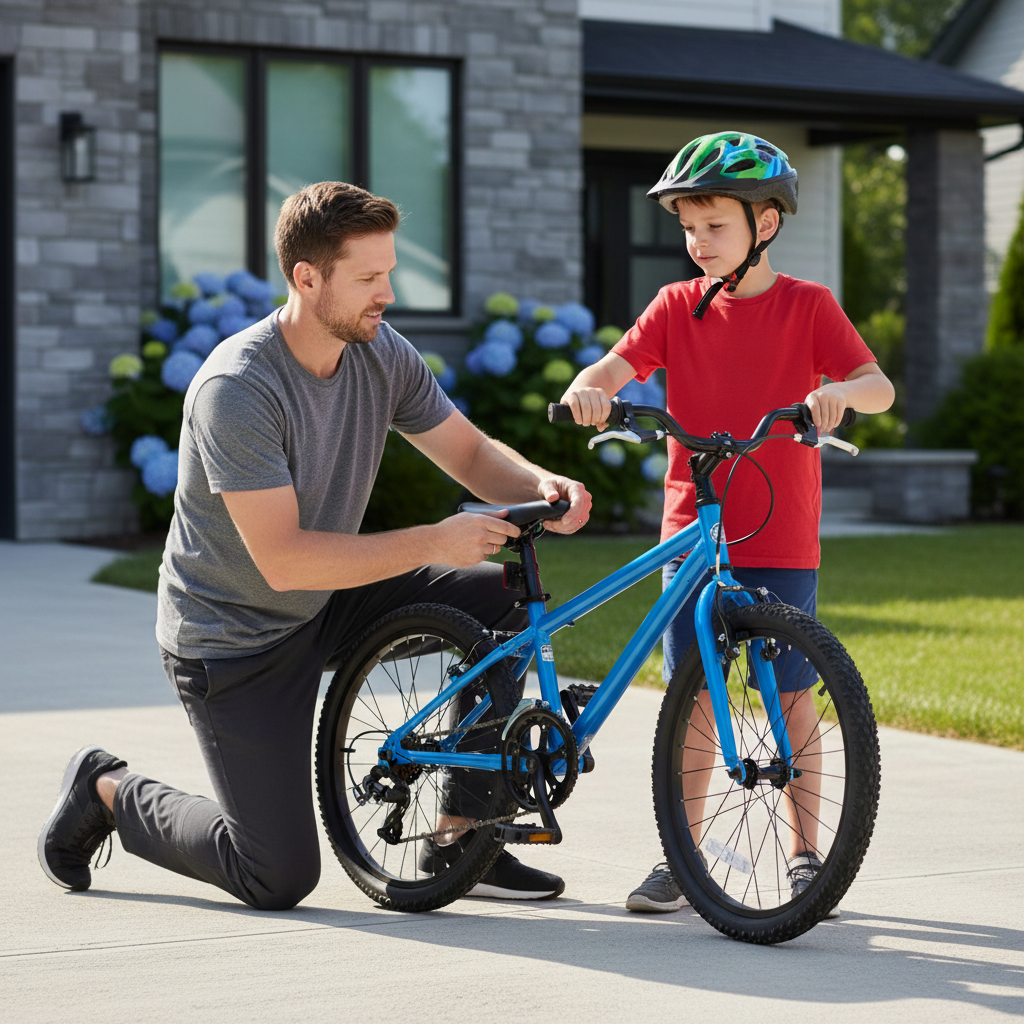
Safety and setup that save you hours later
Dialing in setup looks boring, but it’s the difference between a kid feeling “I can do this” versus “this bike is fighting me.” According to the American Academy of Pediatrics, kids should wear a properly fitted helmet on every ride, and that’s a baseline before you add speed.
Use this quick setup checklist before the first push:
- Helmet fit: level on the head, snug, straps forming a V under each ear, no rocking.
- Bike size: kid can sit and put both feet flat on the ground, or at least toes flat with knees slightly bent.
- Brake check: for hand brakes, your kid can squeeze and stop the wheel; for coaster brakes, they understand “pedal back to stop.”
- Seat height for learning: slightly lower than “ideal pedaling height” so they can catch themselves easily.
- Practice spot: smooth flat pavement, empty tennis court, or a quiet parking lot, avoid gravel and slopes at first.
One small but important call: if your kid has never used hand brakes, teach braking while walking the bike first. A lot of wipeouts happen because kids pedal faster than their ability to stop.
Pick the right teaching method (training wheels aren’t always fastest)
Training wheels feel intuitive, but they can delay balance and turning for some kids. A balance-first method often gets a quicker “real riding” result, especially if your child is anxious or already comfortable on a scooter.
Method comparison table
| Method | Best for | Why it can be faster | Watch-outs |
|---|---|---|---|
| Balance bike | Ages ~2–5, early learners | Builds balance and steering naturally | May need transition to pedal bike later |
| Pedal bike “balance mode” (no pedals) | Ages ~4–8, quickest transition | Keeps same bike, teaches glide and turns | Requires removing pedals safely |
| Training wheels | Kids who need early success or have motor challenges | Immediate pedaling practice, less fear early | Can create leaning habits and slow balance learning |
If you want the “fast” path for most kids, use a pedal bike in balance mode for a few sessions, then add pedals back once gliding clicks.
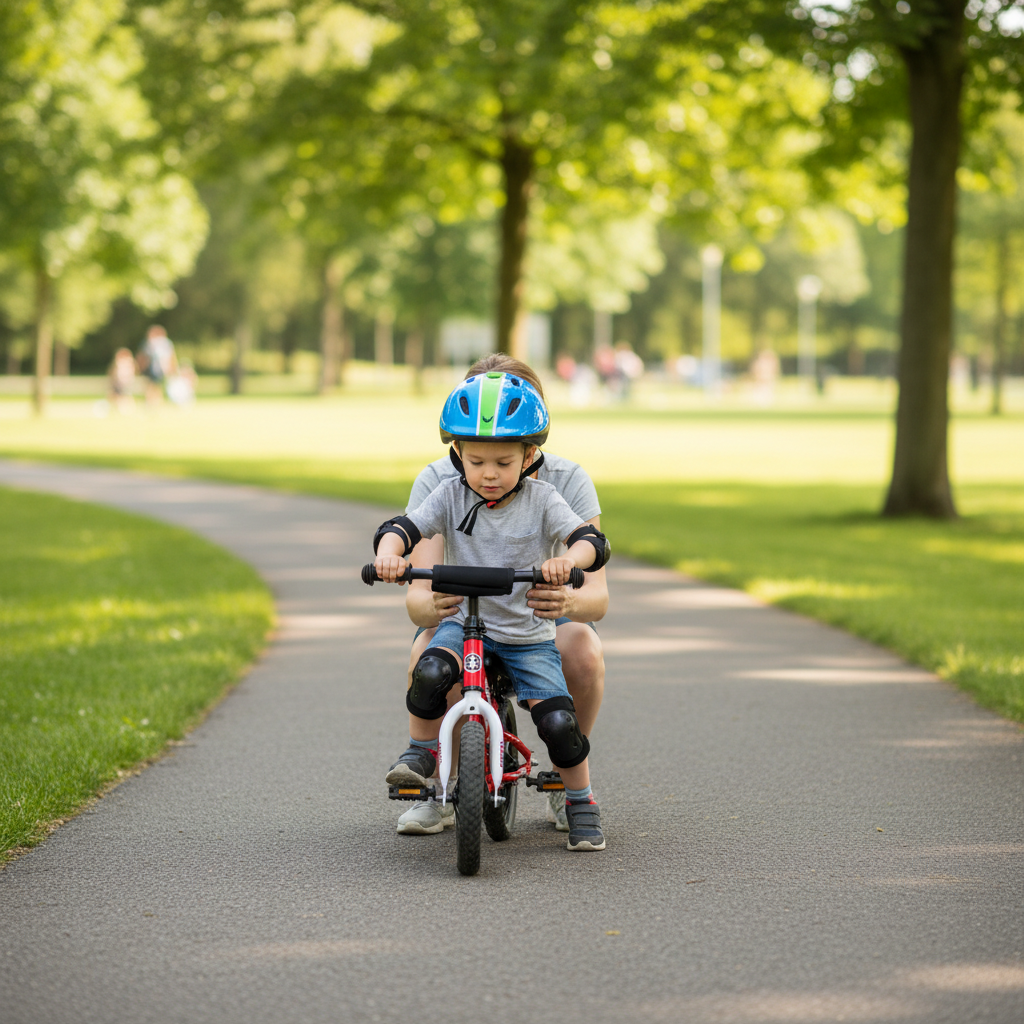
The balance-first lesson plan (most kids learn in 3 phases)
This is the core of how to teach a kid to ride a bike without dragging the process out. You’re teaching one skill at a time, so the kid’s brain isn’t juggling five new things.
Phase 1: Walk, sit, glide
- Lower the seat so feet touch flat.
- Have them walk the bike while seated, eyes forward, hands relaxed.
- Ask for short “glides,” two to five seconds, then feet down.
- Coach cue: “Look where you want to go.” Kids look down, then they wobble.
When glides reach five to ten seconds with calm steering, you’re ready to add gentle turns.
Phase 2: Gentle turns and stopping on purpose
- Set two cones or water bottles about 20 feet apart.
- Glide toward one, turn wide, glide back.
- Practice “stop at the line,” so braking feels controlled.
Key point: kids often learn faster when they can stop whenever they want. It removes the panic.
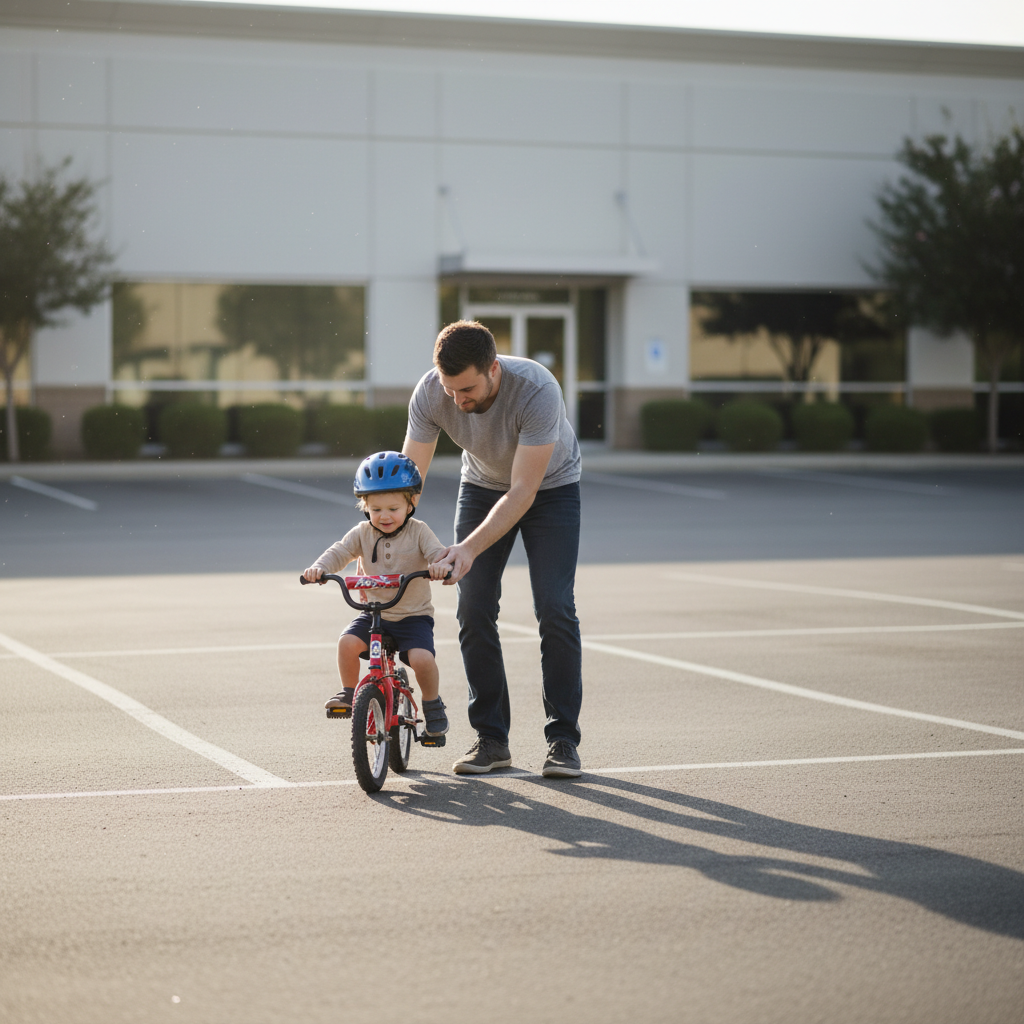
Phase 3: Add pedals back and use “one good start”
- Put pedals back on (or switch to the pedal bike) and raise the seat slightly if needed.
- Teach a starting position: dominant foot on a pedal at about 2 o’clock, push down, then the other foot finds its pedal.
- Coach cue: “Push, then sit tall.” Many kids stand up and stiffen.
If your kid struggles with the start, don’t treat it like failure, starts are a separate skill. Do ten “one-push starts” in a row, then take a break.
Fast progress depends on your coaching, not your running speed
Most adults slow things down by holding the handlebars, giving too many instructions, or chasing the bike while the kid feels trapped. If you want a cleaner learning curve, keep your input simple and consistent.
What to do instead
- Spot at the seat or upper back, not the bars, bars need to wobble a little for balance.
- Use one cue at a time: “eyes up” or “big turns,” not a full speech.
- End on a win: stop after a good glide or a clean stop, not after a crash.
According to the National Highway Traffic Safety Administration (NHTSA), proper helmet use and safe riding habits reduce risk of head injury, so it’s worth building “stop, look, steer” habits even while you’re chasing speed of learning.
Self-check: what’s actually slowing your kid down?
When parents say “my kid just can’t get it,” the cause is usually one of these fixable issues. Use this to diagnose in two minutes.
- They look down: wobble increases, fear increases.
- Seat too high: they can’t save a bad moment with their feet.
- Practice spot too hard: bumps, crowds, or slopes add stress.
- They can’t stop confidently: they avoid speed and stiffen up.
- Too much talking: they stop feeling the bike and start guessing.
If you fix just one item, fix seat height first. That alone often changes the whole mood.
Common mistakes that feel helpful but usually aren’t
Some “classic” advice works for certain kids, but in many families it backfires and adds extra sessions.
- Holding the handlebars to “steady” them: it blocks natural steering corrections.
- Starting on a hill: speed arrives before control, fear sets in fast.
- Long practices: fatigue turns into clumsy falls and big emotions.
- Removing training wheels too late: the kid may rely on them through every turn.
- Comparing siblings: motivation drops, even for confident kids.
One more that’s sneaky: overpraising the wrong thing. Praise the behavior you want, like “you kept looking ahead,” not “you’re a natural,” because the second kind can make kids afraid to fail.
When to slow down and get extra help
If your child has repeated hard falls, intense fear, or pain that doesn’t resolve quickly, it’s smart to pause and consider professional help. A local bike shop, kids’ cycling class, or a coach can spot fit issues and technique problems fast. If you suspect vision, balance, or coordination concerns, a pediatrician or qualified health professional can advise what’s appropriate.
This is also true if you’re dealing with a child who has sensory sensitivities, developmental differences, or prior injuries, the “fast” path may look like smaller steps, and that still counts as progress.
Practical 7-day plan to teach riding faster (10–20 minutes per day)
Here’s a realistic rhythm that keeps momentum without burning anyone out. Adjust based on mood and weather, consistency matters more than intensity.
- Day 1: fit check, brake practice, 10 glides.
- Day 2: longer glides, “stop at the line” game.
- Day 3: wide turns around cones, eyes-up reminders.
- Day 4: pedals on, one-push starts, short rides.
- Day 5: smooth starts plus gentle turning while pedaling.
- Day 6: controlled speed, practice braking from faster pedaling.
- Day 7: a short “destination ride,” mailbox and back, or a loop in a park.
Key takeaway: teach balance and stopping until they feel boring, then pedaling becomes the fun part.
Conclusion: make it simple, then make it fun
how to teach a kid to ride a bike comes down to a few high-leverage choices, a bike that fits, a calm practice spot, a balance-first progression, and coaching that stays short and clear. That’s what usually gets kids riding sooner, and with fewer tears.
If you want one next step, lower the seat, do five glides, and quit while it’s going well. Come back tomorrow and repeat, most breakthroughs show up right after a “that felt easy” session.