
Glute resistance bands are one of the fastest ways to “find” your glutes again when squats, lunges, and hip thrusts keep turning into a quad or low-back workout.
If you’ve ever finished leg day thinking, “My thighs feel cooked but my glutes feel like they took the day off,” you’re not alone. Usually it’s not laziness, it’s mechanics, stance, and weak mind-muscle connection, and bands help by giving your hips a cue you can’t ignore.
This guide breaks down why bands work for glute activation, how to choose the right type and tension, and which moves actually carry over to your main lifts, without turning your warm-up into a 30-minute side quest.
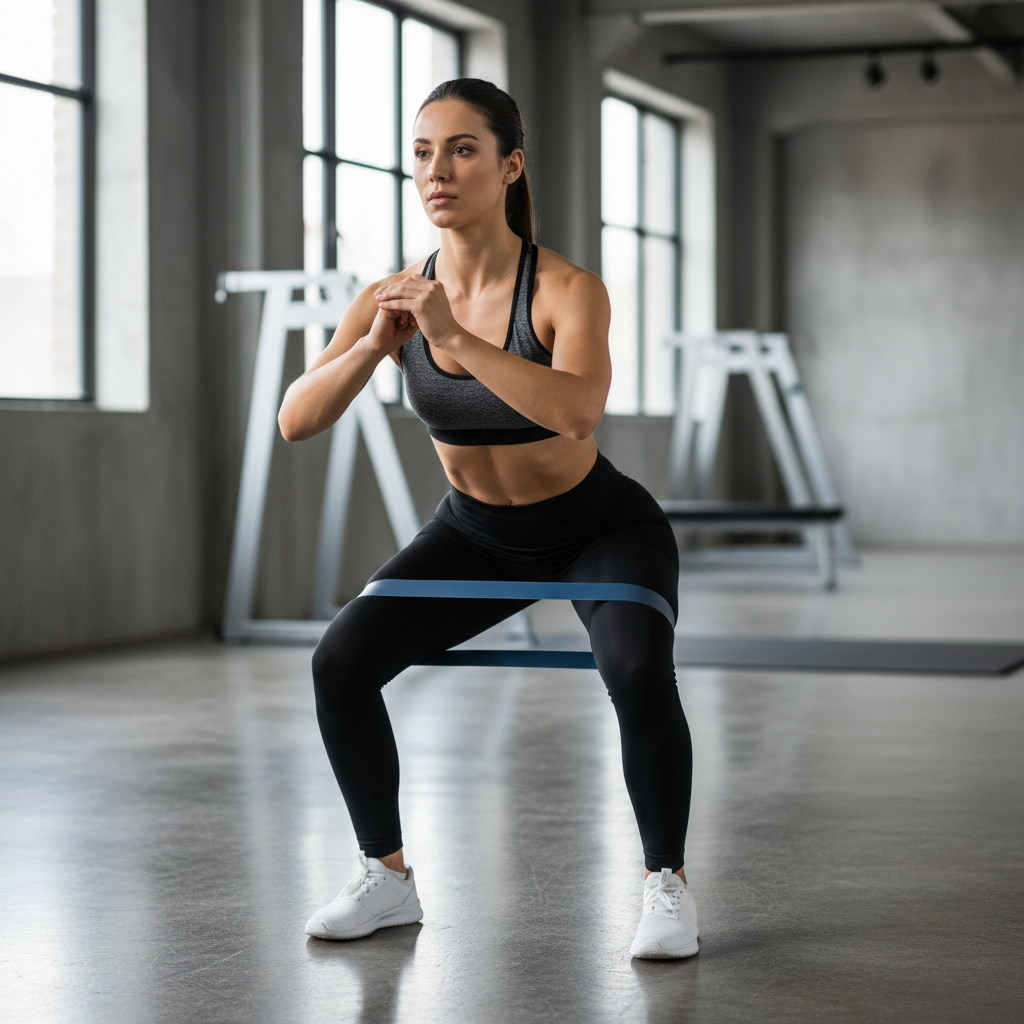
Why bands help your glutes “turn on” (and why your body keeps cheating)
Glutes are powerful, but the body loves shortcuts. If your hip stabilizers lag behind, your quads, adductors (inner thigh), and lower back often jump in to get the rep done. Bands make those shortcuts harder.
- They cue hip external rotation, meaning you naturally press your knees slightly out, a position many people need for better squat and hinge mechanics.
- They add constant tension, so you feel the glutes working even before the load gets heavy.
- They expose side-to-side imbalance, because the band will pull you into your “lazy” pattern if you stop paying attention.
According to the American Council on Exercise (ACE), proper warm-ups and activation drills can help improve movement quality by preparing key muscles and joints for the session. Bands fit that role well, as long as you treat them as a primer, not the entire workout.
Pick the right glute resistance bands (type, width, and tension)
Most frustration with bands comes down to mismatch: wrong band, wrong tension, wrong placement. The “burn” isn’t the goal, clean hip control is.
Band types you’ll actually use
- Fabric loop bands: Don’t roll as much, feel stable on skin/leggings, great for squats, bridges, lateral walks.
- Latex loop bands: More stretch and snap, usually cheaper, can roll on bare skin, useful for travel and quick activation.
- Long therapy bands: Better for pull-throughs, kickbacks, and adding tension to hip hinges when a loop band feels awkward.
How tight should the band be?
A practical rule: you should be able to complete your activation set with form intact, but the last 3–5 reps should demand focus. If your knees cave in or your feet start shifting, the band is likely too strong for that drill.
Quick self-check: do you need more activation, or better technique?
Not everyone needs a bigger warm-up. Some people need one small cue and they’re set. Use this checklist before adding more exercises.
- You feel squats mostly in quads even with a hip-width stance
- Your knees drift inward on the way up
- Hip thrusts are felt mostly in hamstrings or low back
- Single-leg work feels wobbly, especially on one side
- You struggle to “spread the floor” with your feet
If you checked 2 or more, glute resistance bands can help. If you checked 4 or 5, you may also need a form audit or coaching, because activation won’t fix positioning by itself.
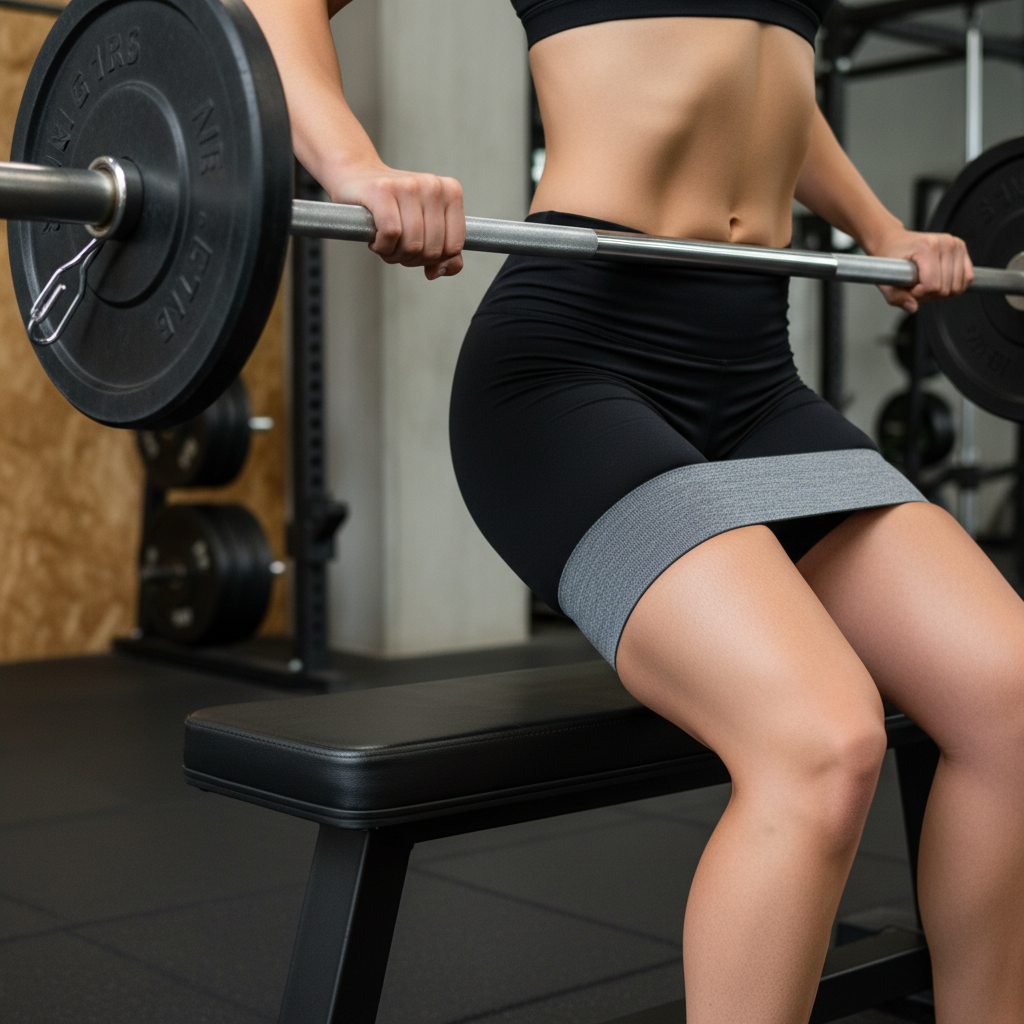
Where to place the band for glute activation (and what each spot changes)
Placement matters more than most people expect, because it changes leverage and which muscles have to stabilize.
- Above the knees: Most common. Encourages knees-out position, great for squats, bridges, thrusts.
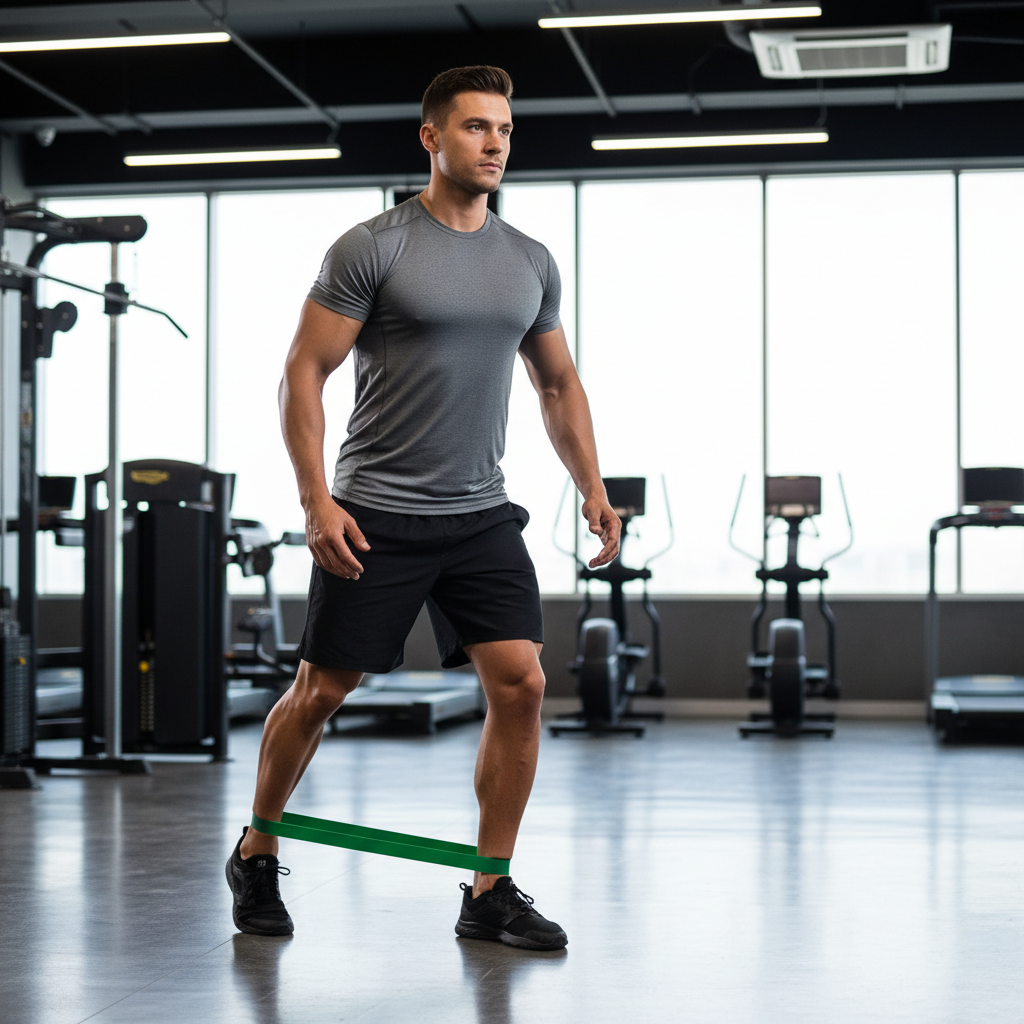
- At the ankles: Harder on the hips, increases demand on glute med (side glute), best for lateral walks and standing abductions.
- Around the feet: Very challenging. Easy to compensate with foot turnout or bouncing, use only if you can keep control.
If your knees cave in, above-knee placement is usually the best starting point. If your issue is hip stability on one leg, ankle placement often gives clearer feedback.
The best band exercises for glute activation (with sets and cues)
Here’s the honest part: a lot of “glute activation” becomes sloppy flailing. Pick 3–4 moves, do them well, then move on to your main lift while the signal is still fresh.
Mini activation circuit (8–12 minutes)
- Banded glute bridge: 2 sets of 10–15, pause 1–2 seconds at the top, ribs down, push knees gently into the band.
- Side-lying clamshell: 2 sets of 12–20 per side, pelvis stacked, don’t roll backward to “cheat” range.
- Lateral band walk: 2 sets of 8–12 steps each way, stay low, step wide enough to keep tension, no bouncing.
- Standing hip abduction (band at ankles): 1–2 sets of 10–15 per side, slow out, slower back.
Key point: if you feel this mostly in the front of the hip, shorten the range and slow down. Speed often hides weak control.
How to use bands to improve squats, deadlifts, and hip thrusts
The best use of glute resistance bands is “bridge work” between activation and your big lift. You want the cue to show up under load, not disappear once you touch a barbell.
Squats
- Warm-up sets: add a loop band above knees for 1–2 lighter sets.
- Think “knees track over toes,” not extreme knees-out.
- If depth collapses your knees inward, reduce load and own that range.
Deadlifts and RDLs
- Use bands for hinge patterning: long band around hips pulling backward can cue sitting the hips back.
- Loop band above knees sometimes helps keep knees stable, but it’s not mandatory for everyone.
- If you feel your low back, check rib position and brace before pulling.
Hip thrusts
- Place a loop band above the knees, keep shins close to vertical at the top.
- Stop short of hyperextending your low back, finish with glutes, not spine.
- Try a 2-second peak squeeze for your first working set to lock the pattern in.
Band tension guide: match the band to the drill (table)
This is a practical starting point. In real gyms, band labels vary a lot, so treat “light/medium/heavy” as relative.
| Exercise | Best band type | Typical tension | What you should feel |
|---|---|---|---|
| Glute bridge / hip thrust warm-up | Fabric or latex loop | Light to medium | Glutes + outer hips, stable knees |
| Clamshell | Latex loop | Light | Side glute, no pelvis rolling |
| Lateral walk | Fabric loop | Medium | Glute med burn without hip flexor pinch |
| Standing hip abduction | Loop band | Light to medium | Control and balance more than burn |
| Band-resisted hip hinge cueing | Long therapy band | Medium | Hips move back, hamstrings load evenly |
Common mistakes that make bands feel useless (or aggravating)
- Going too heavy too soon: if the band forces your feet to turn out or your knees to wobble, you train compensation.
- Turning activation into cardio: fast reps create burn, but not always better motor control.
- Skipping the carryover: doing 10 minutes of drills, then jumping straight to heavy sets with no banded warm-up sets, often wastes the cue.
- Confusing soreness with success: glutes can be “on” without being sore the next day.
- Band placement sliding: rolling bands change tension mid-rep, fabric loops usually reduce this issue.
According to the National Academy of Sports Medicine (NASM), exercise technique and appropriate progression matter for safer training and better results. If band work consistently causes joint discomfort, it’s a signal to reassess setup rather than push through.
When to get coaching or medical guidance
If you feel sharp pain in the hip, knee, or low back, or you notice numbness/tingling, band drills are not the place to “tough it out.” In those cases, it’s smart to stop and consider a qualified clinician or physical therapist, especially if symptoms repeat across sessions.
If nothing hurts but you still can’t feel glutes after a few weeks of consistent practice, a short form check with a reputable trainer can be more efficient than endlessly switching exercises.
Conclusion: make bands a tool, not a ritual
Glute resistance bands work best when they solve a specific problem: knees caving, unstable hips, or glutes that never seem to join the party. Keep your activation short, pick a band tension you can control, and bring that same hip position into your first sets of squats, hinges, or thrusts.
If you want one action step, run the 8–12 minute circuit twice per week before lower-body training, then track whether your main lift feels more stable and glute-driven over the next 3–4 weeks.
Key takeaways
- Use bands to improve control, not just chase a burn.
- Start with above-knee placement if knees cave in, ankles if single-leg stability is the issue.
- Carry the cue into your warm-up sets, or the effect fades fast.
FAQ
What are glute resistance bands used for?
They’re commonly used to improve glute activation, reinforce knee tracking, and add light resistance for warm-ups or accessory work. They’re especially helpful when your quads or low back dominate lower-body lifts.
Are fabric or latex bands better for glute activation?
Many people prefer fabric loops because they grip better and roll less, which makes technique more consistent. Latex bands can work great too, especially for travel, but they may shift more depending on skin and clothing.
Where should I put the band for hip thrusts?
Above the knees is a solid default for hip thrusts because it cues gentle knee-out pressure and helps keep the hips stable. If you feel hip pinching, try a lighter band and reduce range slightly.
How many band exercises should I do before leg day?
Usually 3–4 drills are enough. If your “activation” takes longer than your main lift warm-up, you may be doing too much or choosing movements that don’t transfer to your session.
Why do I feel band walks in my hip flexors instead of glutes?
Often it’s stride length and posture. Shorten the step, keep ribs stacked over pelvis, and move slower. If the front-of-hip sensation stays sharp or uncomfortable, it may be worth getting technique feedback.
Can bands replace squats or hip thrusts for glute growth?
Bands can build endurance and improve mind-muscle connection, but many people still need progressive overload with heavier resistance for noticeable growth. Bands fit well as warm-ups, finishers, or travel training.
How tight should the band be for clamshells?
Light tension usually works best so you can keep the pelvis steady. If you have to roll your hips back to open your knees, the band is likely too strong for that drill.
If you’re trying to choose glute resistance bands without guessing, it helps to pick a small set with clearly different tensions and a non-slip option, then match the band to the drill instead of forcing one “heavy” band to do everything.