
Balance training at home can feel deceptively simple until you try standing on one leg and realize your foot, ankle, and core all want to negotiate at once.
If your stability has slipped because you sit a lot, stopped playing sports, or you’re coming back from a minor tweak, home balance work is usually a practical place to start, no gym membership, no complicated machines, just a clear plan and consistency.
A common misconception is that “balance” is only about your feet, but many people who feel wobbly are really dealing with a mix of ankle strength, hip control, vision, and even how tired they are that day, so this guide focuses on what actually moves the needle and how to progress without getting reckless.
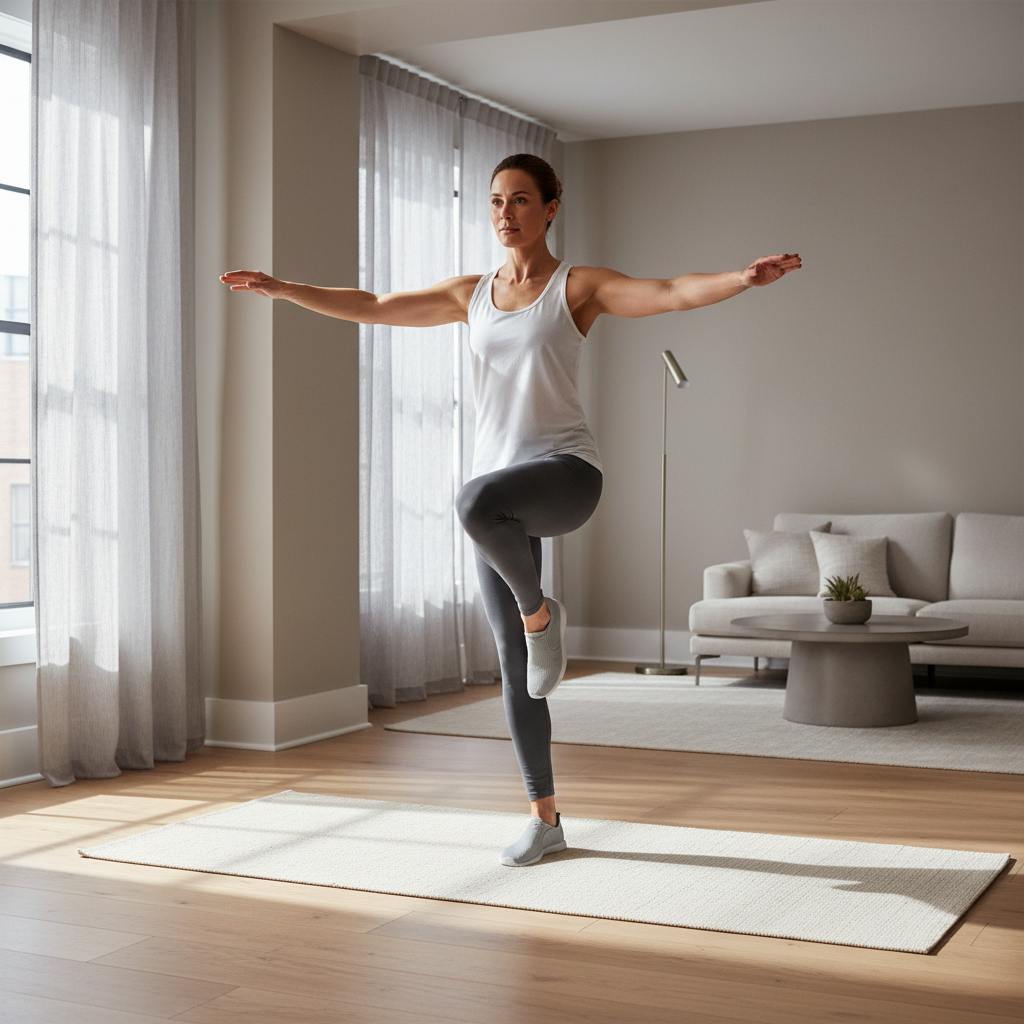
One more thing before the exercises, if you have frequent falls, sudden dizziness, new numbness, or a recent serious injury, it’s safer to check in with a clinician or physical therapist, home drills might still help, but the “why” matters.
Why your balance feels off (and what usually improves it)
Most “bad balance” complaints are not a mystery diagnosis, they’re typically a few systems under-trained or out of sync.
- Ankles and feet: small stabilizer muscles fatigue fast, especially on flat shoes and indoor floors.
- Hips: weak or slow glute activation can make the knee cave inward, stability drops even if the ankle is strong.
- Core control: not “six-pack” strength, more about keeping your trunk steady while limbs move.
- Proprioception: your body’s position sense, often reduced after sprains or long periods of low activity.
- Vision and attention: looking down at your phone or turning your head quickly can expose a weak link.
According to the Centers for Disease Control and Prevention (CDC), falls are a major safety issue for older adults, and improving strength and balance is one commonly recommended prevention strategy, your plan should still match your age, history, and risk.
Quick self-check: figure out your starting level in 5 minutes
You don’t need fancy screening, but you do need a baseline, otherwise people either do drills that are too easy, or they jump straight to “hard mode” and quit.
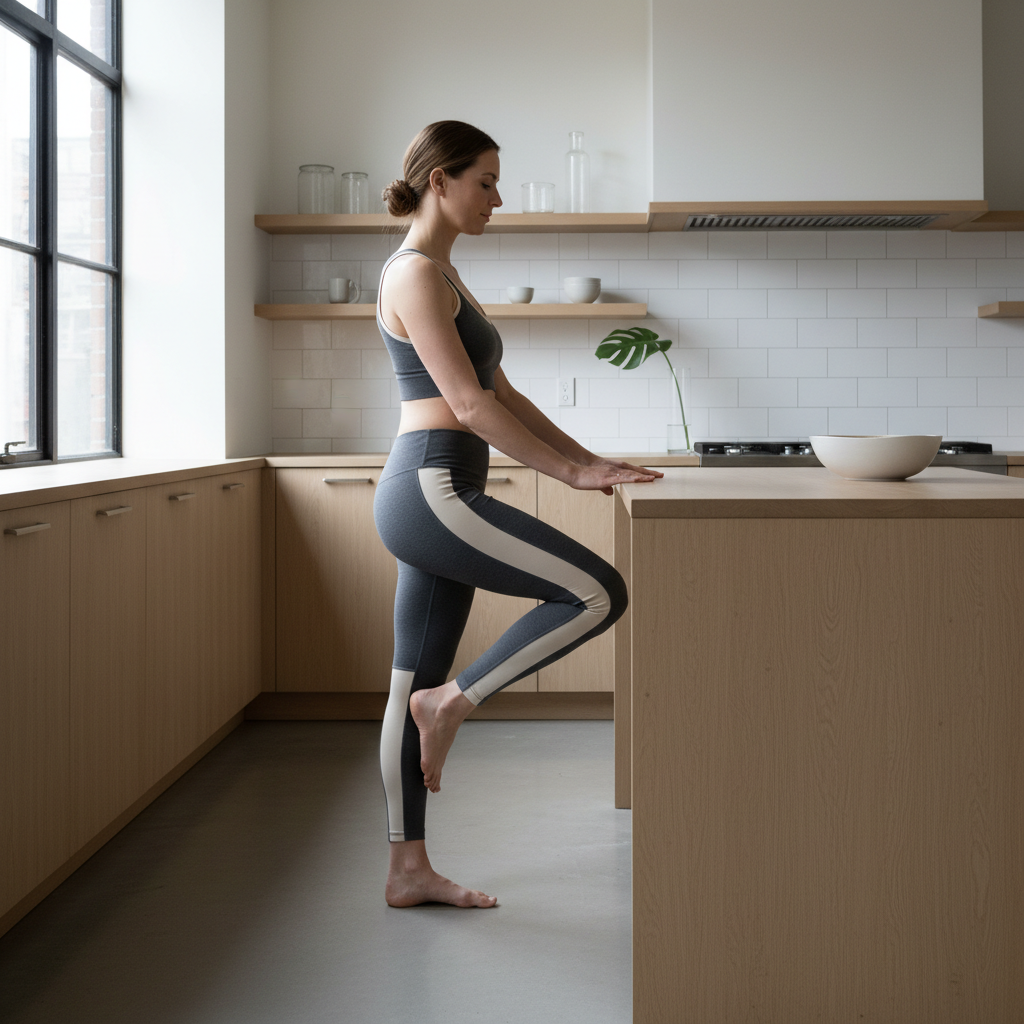
Do these checks near a counter or sturdy chair
- Single-leg stand: barefoot or flat shoes, hold up to 30 seconds per side, note wobble, foot grabbing, or hopping.
- Tandem stance: one foot directly in front of the other like standing on a line, hold 30 seconds.
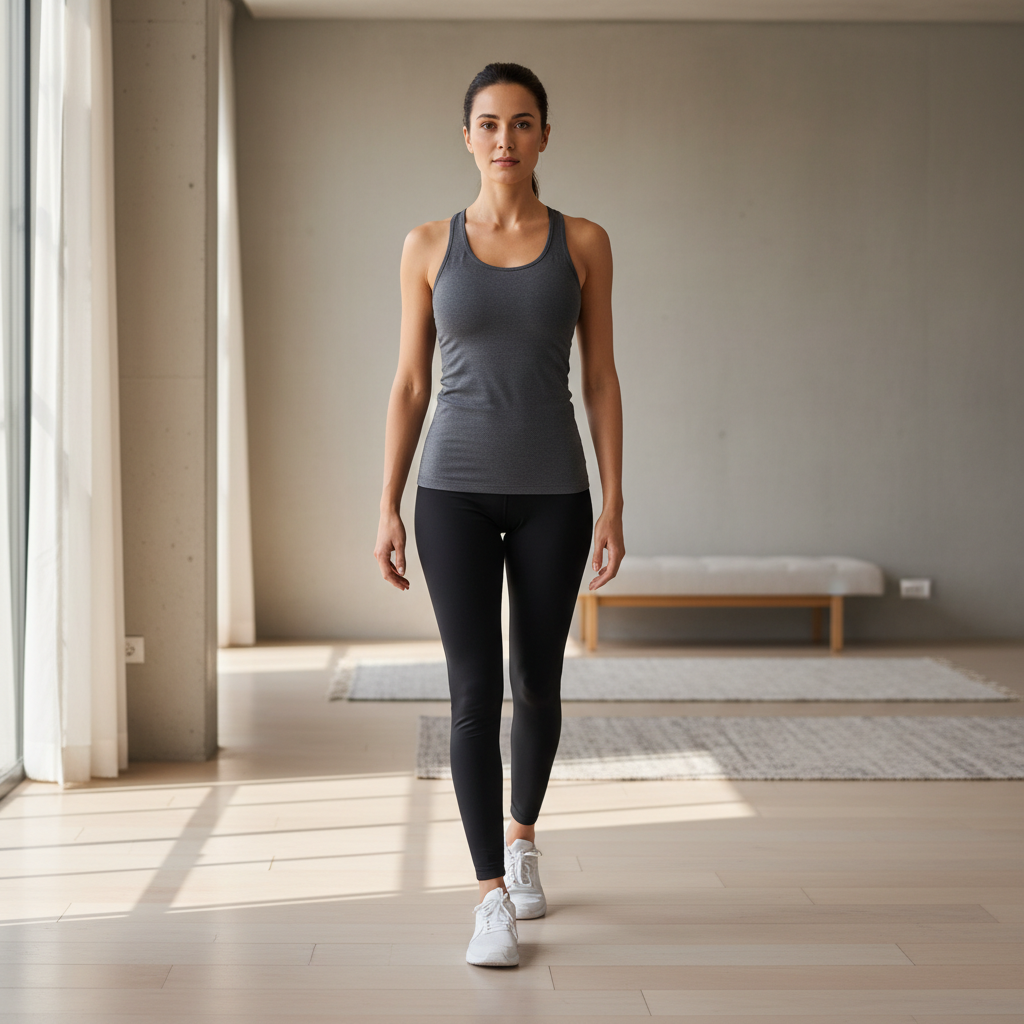
- Heel-to-toe walk: 10 slow steps, can you stay controlled without swinging arms wildly?
How to score it (keep it simple): if you can hold 20–30 seconds with calm breathing and minimal foot shuffling, you can progress sooner, if you tap down repeatedly before 10–15 seconds, start with the foundational block below.
If pain shows up during the test, especially sharp ankle pain, knee pain, or back pain, treat that as useful information and scale down, balance work should feel challenging, not like you’re grinding through joint irritation.
Foundations: 6 moves that cover 80% of home stability needs
This is the part many people skip because it looks “too basic”, but if your goal is better stability, these drills build the control you’ll use later for single-leg deadlifts, running, hiking, or just walking on uneven ground.
1) Supported single-leg stand
Light fingertips on a counter, find a tall posture, then gradually reduce hand pressure.
- 2–3 sets of 20–30 seconds each side
- Stop the set if you’re repeatedly saving yourself with big hops
2) Short-foot drill (foot tripod)
Keep heel down, gently “lift” the arch by drawing the ball of the foot toward the heel without curling the toes.
- 2 sets of 6–10 slow reps per side
3) Heel-to-toe rocking
Shift weight from heels to forefoot, slow enough that you feel ankle control, not momentum.
- 2 sets of 8–12 reps
4) Glute bridge with steady hips
Lift hips and keep them level, no twisting, no rib flare.
- 2–3 sets of 8–12 reps
5) Side-lying hip abduction (or band walk if you have a mini-band)
Think “leg long, toes slightly down”, you should feel outer hip, not low back.
- 2 sets of 10–15 reps per side
6) Marching hold
Stand tall, lift one knee to hip height, pause 2–3 seconds, switch, keep your torso quiet.
- 2 sets of 8–10 reps per side
Progressions that actually work: make it harder without making it risky
In balance training at home, the safest “upgrade” is usually changing one variable at a time, people get in trouble when they stack three progressions in the same week.
Choose one progression per 1–2 weeks
- Reduce support: go from full handhold to fingertips to hovering hands.
- Narrow the base: feet closer together, then tandem, then single-leg.
- Add head turns: slowly look left-right while holding position.
- Change surface carefully: folded towel is usually plenty, avoid unstable gadgets early.
- Add a task: light ball toss against a wall, or reach to touch targets.
A good rule, if you can keep control for the full time or reps with only small corrections, you’ve earned the progression, if you’re flailing, you’re practicing “saving the fall”, not stability.
According to the American Physical Therapy Association (APTA), balance is trainable and often improved through task-specific practice and progressive challenge, which is exactly what you’re doing when you scale variables instead of chasing random “hard” exercises.
A simple 4-week plan (with a table you can follow)
If you want results, you need a repeatable schedule, not a new workout every day. This plan works for many generally healthy adults, but adjust if you’re managing pain, vertigo, or post-surgery restrictions, and consider professional guidance.
Frequency: 3 days per week, 15–25 minutes per session. Optional light “micro-sessions” on off-days, 2–5 minutes of easy holds.
| Week | Main focus | What you do | Progress cue |
|---|---|---|---|
| 1 | Control + confidence | Foundations #1–#6, mostly supported | Fewer foot taps, calmer breathing |
| 2 | Less support | Same moves, reduce hand contact, add marching holds | 20–30 sec holds with light support |
| 3 | Dynamic balance | Add reach tasks, heel-to-toe walk, gentle head turns | Controlled steps, less trunk sway |
| 4 | Real-life carryover | Short “balance circuits”, add light load like a small backpack | More stability when turning, stairs feel easier |
Example session (20 minutes)
- 2 minutes: heel-to-toe rocking + marching in place
- 8 minutes: supported single-leg stand, short-foot drill
- 8 minutes: glute bridge, side-lying hip work
- 2 minutes: tandem stance or heel-to-toe walk
Safety, common mistakes, and when to get help
Balance work should challenge your system, but you still want a “safe fail”, meaning you can grab support quickly without twisting a knee or rolling an ankle.
Common mistakes that slow progress
- Going too unstable too soon: wobble boards can be useful, but they often turn training into chaos.
- Watching your feet constantly: a quick glance is fine, but practice with gaze forward too.
- Holding your breath: breath-holding makes the body tense and less adaptable.
- Skipping hip work: many “ankle balance” issues are actually hip control problems.
Key takeaways to remember
- Consistency beats intensity, 15 minutes done often usually wins.
- Progress one variable at a time, keep it measurable.
- Train both sides, even if only one feels shaky.
- Stop for sharp pain or new neurologic symptoms, and consider medical advice.
When it’s smart to seek professional help
- Frequent falls, near-falls, or you avoid walking because you feel unsafe
- Dizziness, fainting, or new vision changes during balance tasks
- Recent concussion, stroke, inner ear issues, or diabetic neuropathy symptoms
- Persistent pain after an ankle sprain or knee injury, especially swelling or instability
A physical therapist can screen what drives your instability and tailor progressions, which often saves time and frustration compared with guessing.
Conclusion: make home balance training stick
Balance training at home works best when you treat it like brushing your teeth, short, regular, and a little boring on purpose. Pick two foundation drills and one progression, run them three times a week for a month, and keep notes on hold time and how “quiet” your body feels.
If you want a simple next step, do a supported single-leg stand today, then schedule two more sessions this week, your future self on stairs, trails, or slick sidewalks tends to appreciate that kind of boring commitment.
FAQ
How long does it take to improve balance at home?
Many people notice small changes in 2–4 weeks if they practice several times per week, bigger changes usually depend on strength, prior injuries, and how steadily you progress.
Is standing on one leg enough for balance training at home?
It’s a strong start, but it’s rarely the whole picture. Adding foot strength, hip control, and a little dynamic movement tends to create better carryover to real life.
Should I practice balance drills every day?
Light, low-fatigue practice can work daily, but harder sessions often do better with rest days. If you feel your ankle or arch getting sore, scale volume down.
Do I need a balance board or BOSU?
Usually not. A counter for support, a folded towel, and clear progressions can deliver plenty of challenge. Unstable tools can help later, but they’re not required.
What if I have bad knees or ankle pain?
Modify and stay in a pain-free range, keep support close, and prioritize hip strength and controlled holds. If pain persists or worsens, it’s worth asking a clinician for guidance.
Can older adults do these balance exercises safely?
Often yes, with extra precautions like sturdy support, clear floor space, and conservative progressions. If there’s a history of falls, professional input is a good idea.
How do I know I’m ready to progress?
If you can complete the time or reps with only small corrections and no breath-holding, you’re probably ready. If you’re hopping and grabbing constantly, keep the current level a bit longer.
If you’re already trying to improve stability but you’re not sure which drills fit your situation, or you want a more “done-for-you” routine that adapts as you get steadier, a physical therapist or qualified coach can help you choose progressions that feel challenging without feeling risky.