
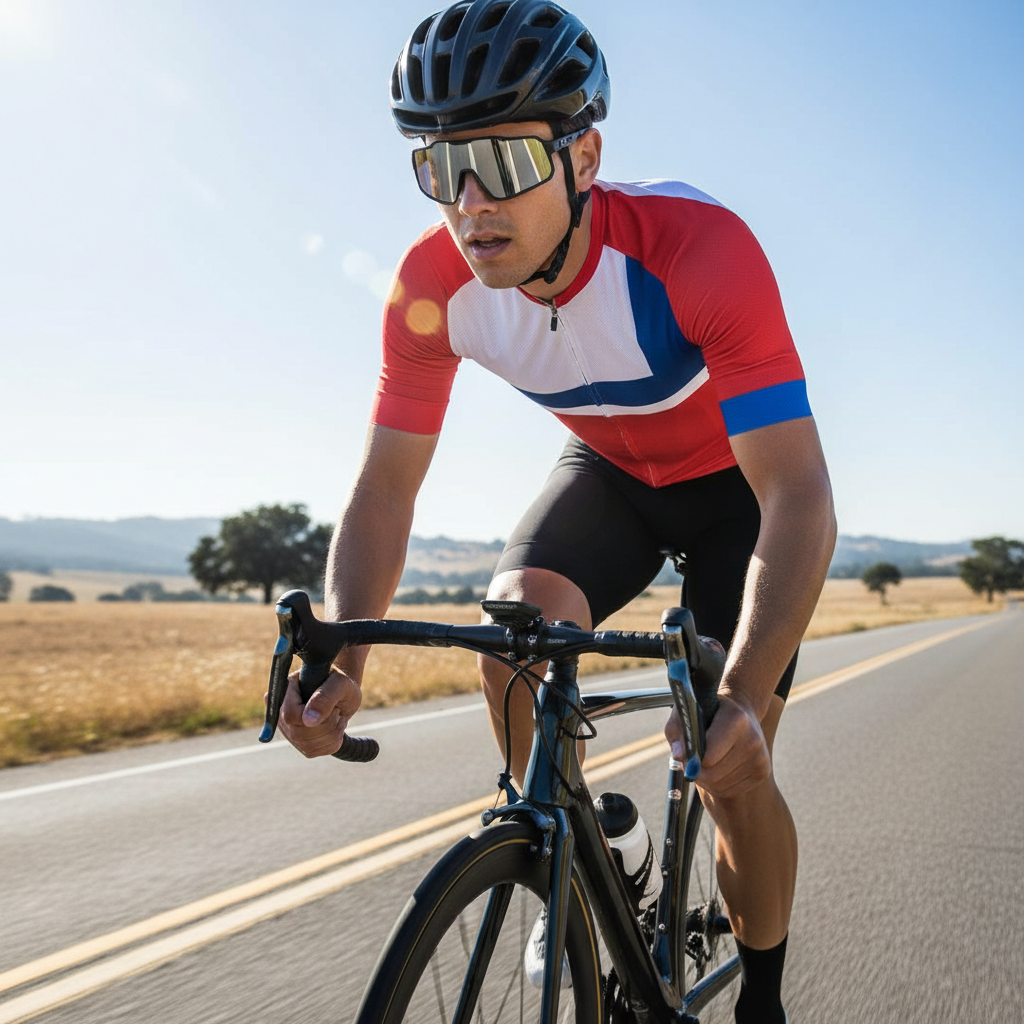
Best cycling sunglasses uv protection is less about chasing a trendy lens color and more about getting reliable UV400 coverage, stable fit at speed, and optics you can trust when light changes fast.
If you ride in the U.S., you already know the mix: high sun in open roads, glare off car windshields, sudden shade under trees, and dusty wind that makes your eyes water. Sunglasses that look fine walking around can become a safety problem on a descent.
This guide breaks down what “UV protection” actually means for cycling, how to avoid marketing traps, and how to choose lenses and frames for your terrain. I’ll also share a quick checklist and a comparison table so you can narrow choices without overthinking it.
What UV protection means for cycling sunglasses (and what it doesn’t)
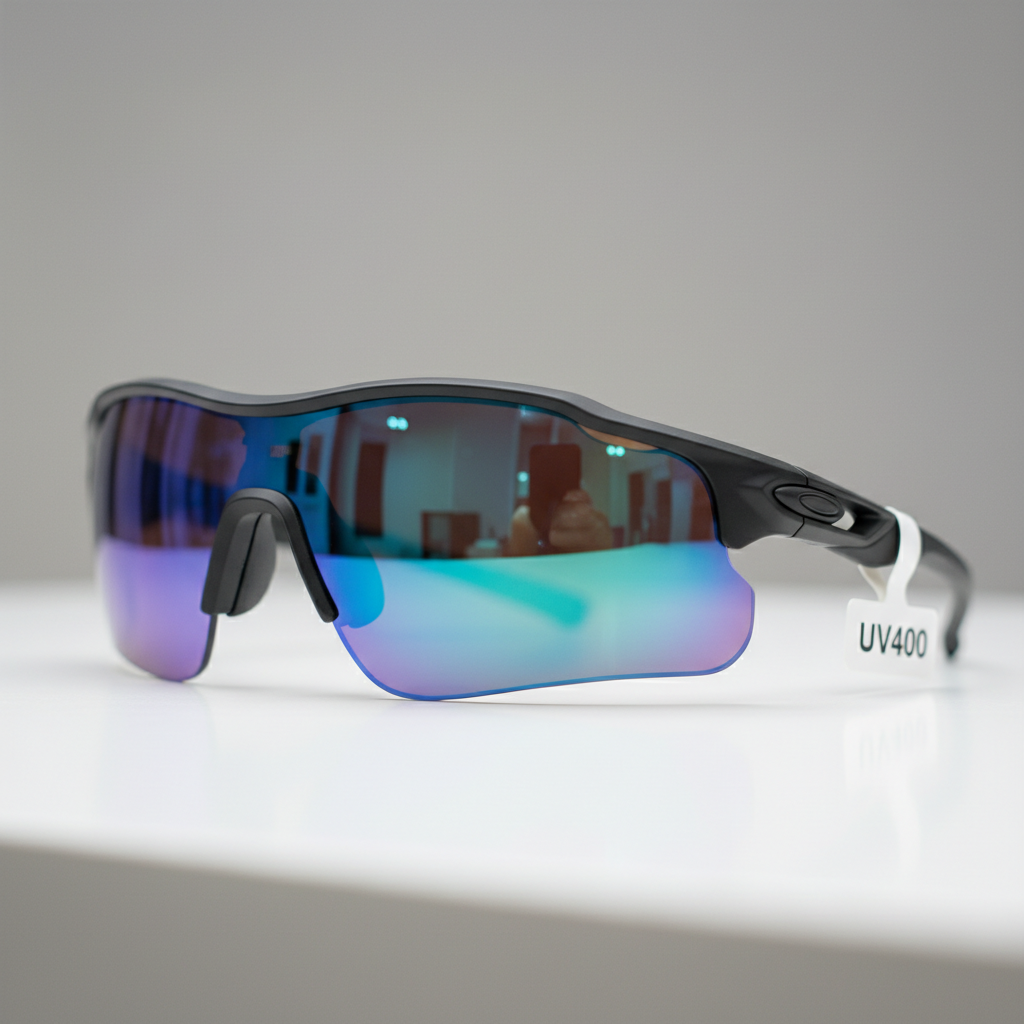
For cycling, you’re looking for 100% UVA/UVB protection, often shown as UV400. That label suggests the lens blocks UV rays up to 400 nanometers, which covers UVA and UVB in typical consumer standards.
One important nuance: lens darkness and UV protection are not the same. A very dark lens without proper UV filtering can be worse than no sunglasses, because your pupil may open wider while UV still gets through.
According to the American Academy of Ophthalmology, UV exposure can contribute to eye conditions over time, and sunglasses should block 99% to 100% of UVA and UVB. For riders, “over time” can add up quickly if you commute, train outdoors, or live at higher elevation.
How to spot real UV claims vs marketing fluff
Most reputable brands do fine here, but the sketchy zone is bargain listings where “UV” appears in the title with no test standard, no warranty support, and inconsistent packaging.
Look for these signals
- Clear labeling: “100% UVA/UVB” or “UV400” stated on product page and packaging.
- Stated standards: some brands mention compliance with ANSI Z80.3 or similar eyewear standards.
- Return policy and warranty: real optical brands stand behind coatings and lens defects.
- Consistent model info: lens name, VLT range, coating type, and replacement lens availability.
Red flags I’d treat cautiously
- “Polarized UV” with no mention of UVA/UVB coverage
- Overpromises like “military grade UV shield” without specs
- Random brand names with copied descriptions and no customer support
If you want extra reassurance, some optical shops can test UV transmission. It’s not always necessary, but if you’re sensitive to light or ride high-UV environments, it can be worth asking.
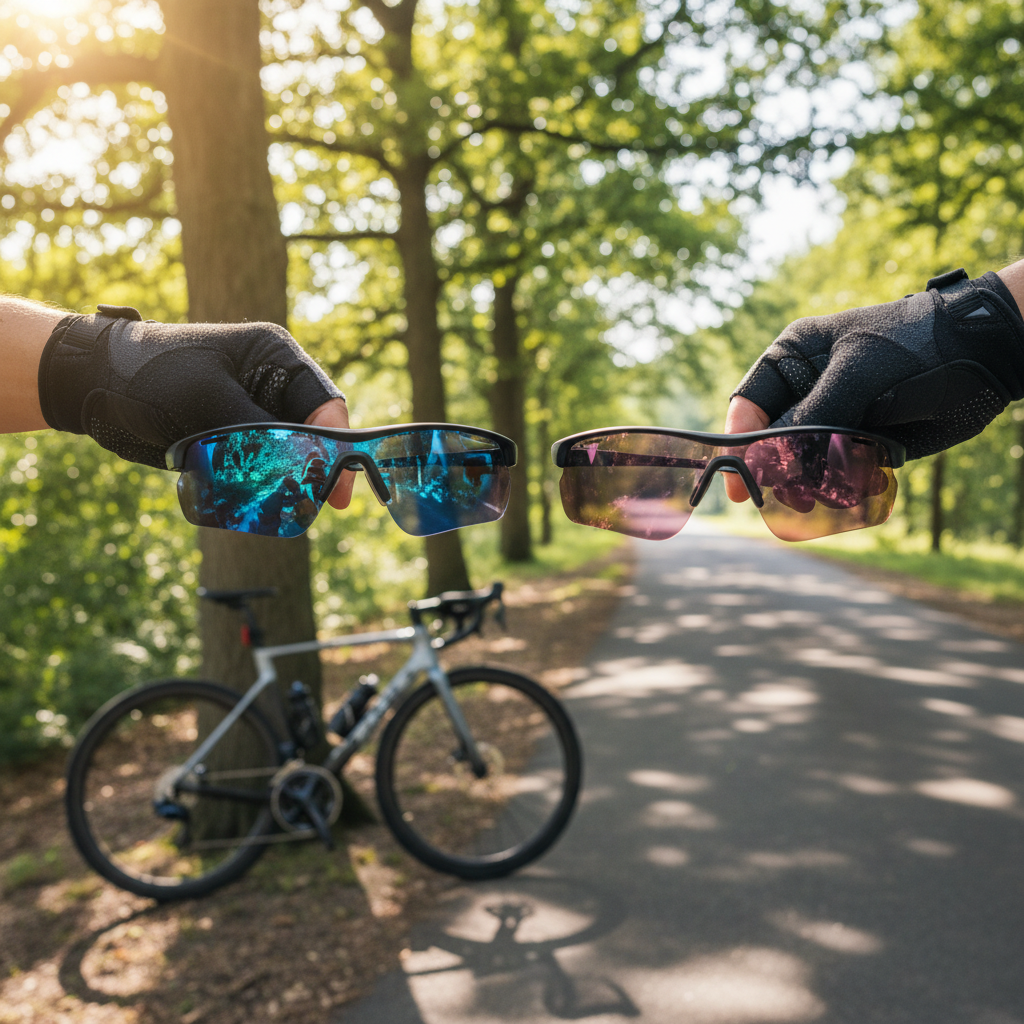
Lens types for sun, glare, and changing conditions
Choosing lenses is where comfort and safety meet. For best cycling sunglasses uv protection, you still need to match lens behavior to how and where you ride.
Quick lens glossary (plain English)
- VLT (Visible Light Transmission): how much light passes through. Lower VLT looks darker.
- Photochromic: lens darkens in sunlight, clears in shade. Great for variable light, sometimes slower in cold.
- Polarized: cuts reflected glare (water, car hoods). Can make some screens harder to read.
- Mirrored coating: reflects visible light, often for very bright conditions. Not automatically “more UV.”
Which lens suits which ride?
- Open-road midday, lots of glare: darker lens, optional polarization, strong contrast tint.
- Mixed sun and shade (trees, rolling terrain): photochromic or a medium VLT lens with good contrast.
- Early morning/overcast: higher VLT, rose/amber tints can improve contrast.
- Gravel and dust: prioritize coverage and anti-fog/oleophobic coatings over ultra-dark tints.
One more real-world point: polarization is helpful for harsh glare, but some cyclists dislike how it interacts with bike computers, phones, and certain car windshields. If you depend on screens, test before you commit.
Coverage and fit: the part most people underestimate
UV filtering matters, but so does how much light sneaks in from the sides and top. A lens can be UV400 and still leave you squinting if the frame sits too far from your face.
Fit features that tend to work well on bikes
- Wraparound shape to reduce peripheral glare and wind.
- Adjustable nose pads so the lens doesn’t touch eyelashes and stays stable on rough roads.
- Grippy temple tips that hold without pressure points under helmet straps.
- Vent placement that helps reduce fog without letting dust blast straight in.
If your eyes water on descents, it’s often not “weak lenses,” it’s airflow hitting your eyes. More wrap and better alignment usually fixes it faster than buying a darker tint.
Comparison table: how to choose based on your riding style
This table isn’t a brand ranking. It’s a practical way to match specs to needs so you can filter options quickly, especially when product pages feel like a wall of features.
| Riding scenario | Lens recommendation | Frame/fit priority | Watch out for |
|---|---|---|---|
| Road rides in bright sun | Low VLT, high-contrast tint; polarization optional | Stable wrap, good ventilation | Too-dark lenses for tunnels/shade |
| Mixed light (sun + trees) | Photochromic or medium VLT | All-day comfort, no pressure points | Slow transition in cold temps |
| Gravel, wind, dust | Medium VLT, strong coatings (anti-fog/oleophobic) | Maximum coverage, secure nose fit | Fogging at low speed or climbs |
| Commuting, lots of stops | Medium-to-high VLT, easy-to-clean lens | Durability, scratch resistance | Mirrors that show smudges easily |
Self-check: are your current sunglasses actually doing the job?
If you’re unsure whether you need an upgrade, a quick self-audit usually makes the answer obvious. This is also useful when you’re tempted by a sale but can’t justify it.
- You squint even with sunglasses on, especially when the sun sits low.
- Your eyes tear on descents or in crosswinds, suggesting poor coverage or airflow management.
- Frequent fogging on climbs or at stoplights, even after cleaning.
- Headaches or eye strain after bright rides, which can happen with poor optics or insufficient coverage.
- Scratches in your main line of sight, which can reduce clarity and confidence.
- Loose fit under a helmet, forcing you to adjust mid-ride.
If two or more are true, you’re not being picky, you’re reacting to real ride friction that often affects safety.
Practical buying tips (without overpaying)
There’s no single “best” model, but there are patterns that consistently lead to satisfaction. Most riders do well when they decide on lens strategy first, then pick a frame that fits their face and helmet setup.
A simple decision path
- Step 1: Lock UV requirement to 100% UVA/UVB or UV400, no compromises.
- Step 2: Choose lens behavior: photochromic for mixed light, fixed tint for predictable conditions, polarized if glare is your main enemy.
- Step 3: Confirm coverage: wrap shape, enough lens height, minimal gaps at brow and cheeks.
- Step 4: Check support: replacement lenses, spare nose pads, warranty clarity.
- Step 5: Validate comfort: doesn’t pinch under helmet straps, stays put when you sweat.
Key takeaways to keep in mind
- UV protection is table stakes; fit and optics determine whether you actually ride better.
- Don’t confuse dark tint with safety; insist on clear UVA/UVB labeling.
- Pick lenses for your routes, not for how they look in product photos.
According to the CDC, UV exposure is a known risk factor for eye damage, and protective eyewear is part of recommended sun safety. That doesn’t mean you need the most expensive sunglasses, but it supports taking UV claims seriously.
Mistakes that waste money (and what to do instead)
People usually don’t regret buying sunglasses, they regret buying the wrong type, then trying to “make them work.” Here are the common traps.
- Buying mirrored lenses for all conditions: mirror can be great in bright sun, but can feel too dark in shade. If your routes vary, consider photochromic or a medium VLT lens.
- Ignoring nose fit: if the lens sits too high or too low, you’ll get glare gaps or cheek contact. Adjustable nose pads matter more than many shoppers expect.
- Overvaluing polarization: it’s helpful, but not mandatory. If it messes with screens, you might prefer non-polarized with strong contrast optics.
- Assuming “one pair forever”: many riders end up with two lenses or two pairs, one for bright sun and one for variable light.
If you have persistent light sensitivity, vision changes, or frequent headaches, it’s smart to consult an eye care professional, especially since cycling adds wind, debris, and long exposure time.
Conclusion: picking the right UV-protective cycling sunglasses
The best cycling sunglasses uv protection choice usually comes down to three things you can control: verified UVA/UVB blocking, coverage that reduces wind and side glare, and a lens strategy that matches your routes. When those align, comfort improves and you spend less energy fighting the light.
If you take one action today, check your current pair for clear UV400 or 100% UVA/UVB labeling, then decide whether your riding conditions call for fixed tint, polarization, or photochromic. The rest becomes much easier once that decision is made.