
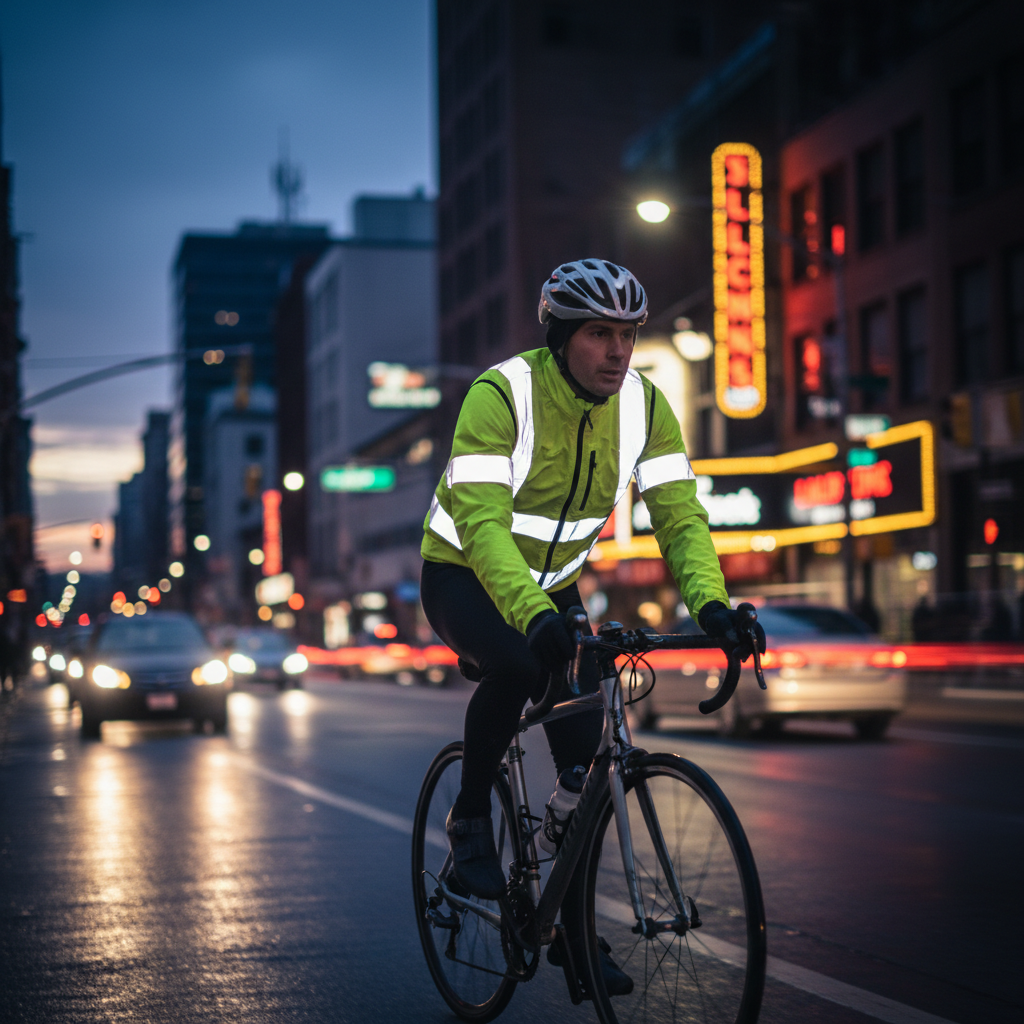
The best cycling vest reflective for safety is the one drivers actually notice, that fits over what you wear, and that you will still choose on a rushed weekday ride.
A lot of riders get stuck because “reflective” is marketed like a yes-or-no feature, but real-world visibility depends on coverage, placement, motion cues, and how the vest sits on your body. A tiny reflective logo can look great online and do almost nothing at an intersection.
This guide focuses on what tends to matter most in the U.S. riding mix: early-morning commutes, dusk group rides, shoulder-season weather, and the occasional surprise drizzle. You’ll also get a quick checklist, a comparison table, and a no-drama way to pick the right style for 2026.
What “reflective” really means for bike safety
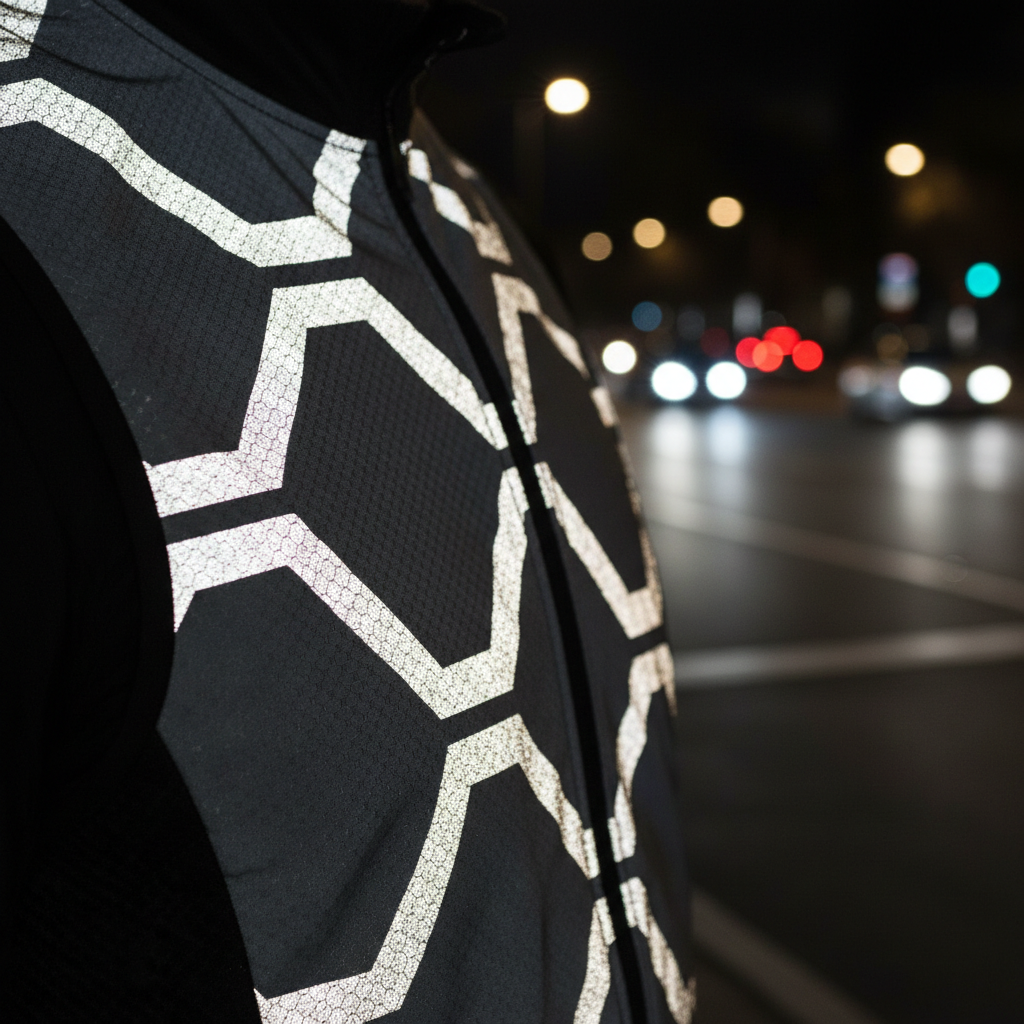
Reflective material is passive, it bounces light back toward the source, so it becomes most effective when headlights hit it. That sounds obvious, but it creates two common blind spots: riders expect it to help as much in daylight, and they underestimate how much shape and movement influence recognition.
According to NHTSA, visibility and conspicuity are key factors in nighttime crash risk, especially where lighting is limited and speeds vary. Practical takeaway: treat a reflective vest as part of a system, not a magic shield.
- Reflective area: more surface area usually beats “premium” tiny accents.
- Placement: reflective on shoulders and torso edges often reads better than a center logo.
- Motion cues: reflective strips that move with your body can help drivers understand “this is a cyclist.”
- Contrast: fluorescent yellow/orange helps in daylight and low light, reflective helps when lights hit.
Key features that separate a great reflective cycling vest from an annoying one
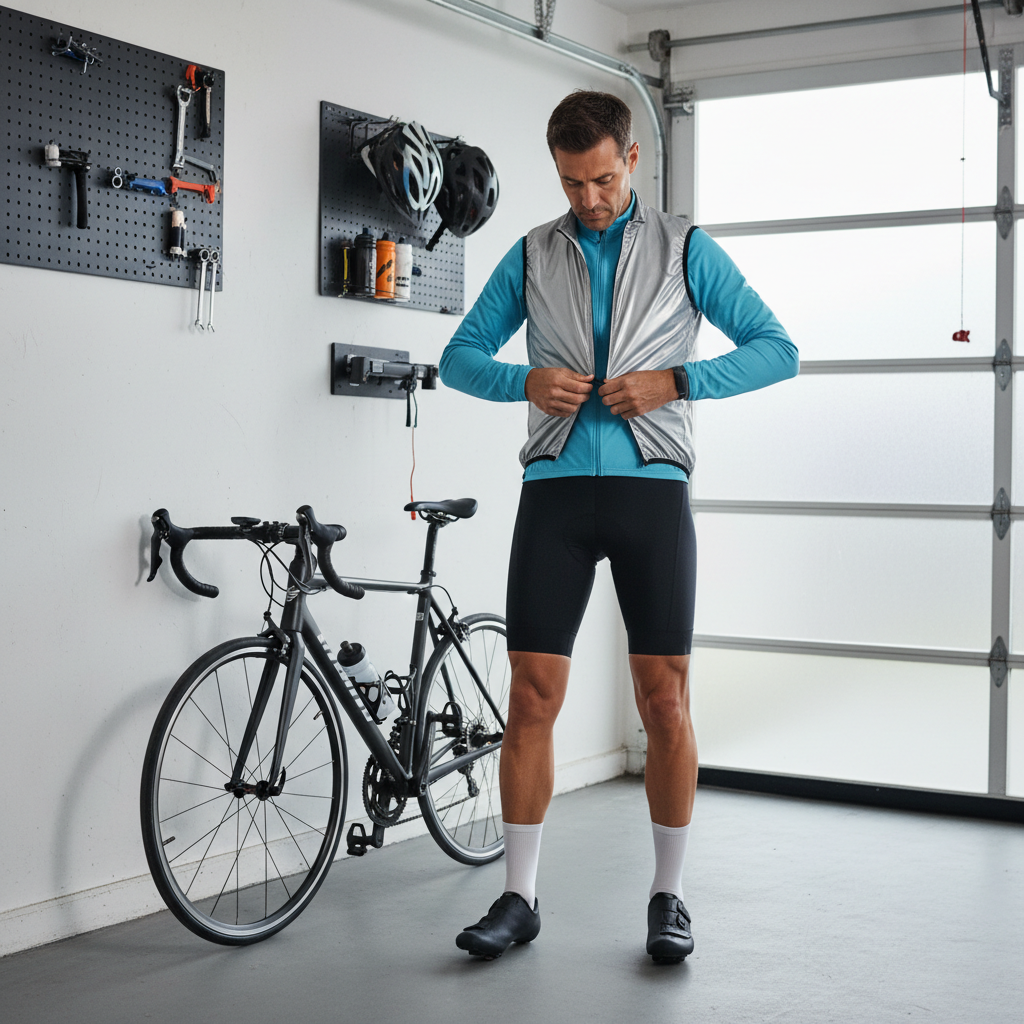
If you buy the wrong vest, you’ll find reasons not to wear it: it flaps, it chokes at the neck, it turns into a plastic sauna, it fits over a jersey but not over a winter jacket. Comfort is not a luxury here, it directly affects consistency.
Visibility design (what you should look for)
- 360-degree reflectivity: front, back, and side panels or piping; side visibility matters at intersections.
- Wide reflective bands: many riders prefer broader bands because they pop in headlights.
- High-contrast base color: fluorescent yellow/orange tends to be easier to read in mixed light.
Fit and “wearability” (the part most people regret)
- Adjustability: side straps or elastic panels help layering across seasons.
- Arm opening shape: should not rub when you’re on the hoods or drops.
- Stable hem: drop-tail or light grippers reduce flapping in wind.
Weather and breathability (pick your compromise)
- Mesh panels: better for warm climates and summer commuting.
- Windproof front: useful for chilly descents; can run hot on climbs.
- DWR or water resistance: helpful for mist and road spray, not the same as a rain shell.
Quick comparison table: common vest types for 2026
There isn’t one universal winner, the “best cycling vest reflective for safety” depends on where and when you ride. Use this table to narrow the category before you compare specific models.
| Vest type | Best for | Strengths | Trade-offs |
|---|---|---|---|
| High-vis mesh reflective vest | Hot weather commuting, city riding | Breathable, lightweight, easy to stash | Less warmth, can snag, some look “workwear” |
| Windproof reflective cycling gilet | Cool mornings, variable weather | Blocks wind, cycling-specific fit, packable | Can run warm; reflectivity varies by brand |
| Fully reflective (silver) vest | Night riding on darker roads | Very high headlight response | Less daytime contrast; can look dull in shade |
| Harness-style reflective straps | Minimalists, layering over jackets | Ventilated, adjustable, compact | Less surface area; may shift on bumpy rides |
Self-check: how to pick the right vest for your rides
If you want to decide fast, answer these in order. Your pattern usually points to the right category without overthinking.
- When do you ride most? daylight, dawn/dusk, or full dark?
- Where? city intersections, suburban stroads, rural roads, multi-use paths?
- How fast does traffic move near you? slow with frequent stops, or 45–65 mph stretches?
- Do you layer? one jersey year-round, or you rotate from base layers to puffy jackets?
- What’s your heat tolerance? if you overheat easily, prioritize mesh and venting.
Rule of thumb: if you ride in true darkness even a couple nights per month, lean toward more reflective surface area, not less. If you ride mostly in daylight with some low-light overlap, high-vis color plus solid reflective piping often feels more balanced.
How to evaluate a vest at home in 10 minutes
This is the part people skip, and then the vest ends up in a drawer. You don’t need lab gear, you just need a realistic check.
1) Headlight test (safe, quick)
- In a dark garage or driveway, stand 20–30 feet away and shine a bright flashlight at chest height.
- Turn slightly left and right, check if the sides still throw light back.
- Look for large “hot spots” of reflectivity, not just a few shiny dots.
2) Layering test
- Try it over your thickest common setup.
- Zip fully, then get into riding posture, check neck and shoulder pressure.
- Reach to a back pocket or small pack, make sure the vest doesn’t ride up.
3) Wind flap test
- With a fan or a breezy porch, see if the hem flaps loudly or lifts.
- If it flaps now, it will probably annoy you at 18–22 mph.
Practical setup ideas that make a reflective vest work better
Even the best vest can underperform if the rest of your setup cancels it out. This section is where you squeeze extra safety out of what you already own.
- Pair with lights, don’t replace them: reflective pops when a driver’s lights hit you, your own front and rear lights help you get seen earlier. According to AAA, drivers’ ability to detect pedestrians and cyclists at night improves with visibility aids, but you still want active lighting for detection at distance.
- Keep it clean: road film can dull reflective material; gentle wash and air dry tends to preserve performance.
- Use “moving reflectors” too: ankle bands or reflective socks create motion cues that read as “human on a bike.”
- Think side profile: add reflective wheel decals or sidewall accents if you ride through lots of cross traffic.
- Don’t hide the vest with a backpack: if you commute with a pack, consider a vest that stays visible on shoulders and sides, or add a reflective cover to the pack.
Mistakes shoppers make (and how to avoid them)
You can spend good money and still end up with the wrong thing. These are the patterns that show up again and again.
- Buying for looks, not geometry: a sleek vest with minimal reflective trim may photograph well but can disappear from certain angles.
- Choosing the tightest size: a race-fit gilet might feel great over a jersey, then fail the first cold week when you need layers.
- Assuming “fully reflective” always wins: it can be excellent at night, but daytime contrast and comfort still matter if you actually wear it.
- Overheating and quitting: if you run hot, pick mesh or large vents, otherwise your “safety gear” becomes something you avoid.
- Ignoring certification language: if a brand claims compliance (for example, ANSI/ISEA high-visibility categories), read the fine print; many cycling vests use reflective materials without being certified workwear.
Conclusion: choosing the best reflective cycling vest for your 2026 rides
The best cycling vest reflective for safety usually comes down to three checks: does it give you 360-degree visibility, does it fit over your real layers, and will you wear it consistently when you’re tired or in a hurry. If you’re mostly commuting in mixed light, high-vis color plus solid reflective coverage is a safe bet; if you ride in true darkness often, more reflective surface area becomes harder to argue with.
Action steps: pick the vest type from the table, do a quick headlight test at home, then build a simple visibility “stack” with lights and at least one moving reflective item.
If you have vision issues, ride on higher-speed roads, or you’re returning to cycling after a long break, it may be worth asking a local bike shop or a cycling safety educator to sanity-check your setup and routes.